We are going to draw a spider right now! You will learn a great way to do it and I’m going to show you how to draw the shapes and details of a spider’s section based on a simple technique but with amazing results. As always I will demonstrate all the drawings step by step for you. Get your pencil ready right now!
We take the most common type of a spider for the object because of its simple shape. It is probably the best example of learning how to draw a spider.
Contents
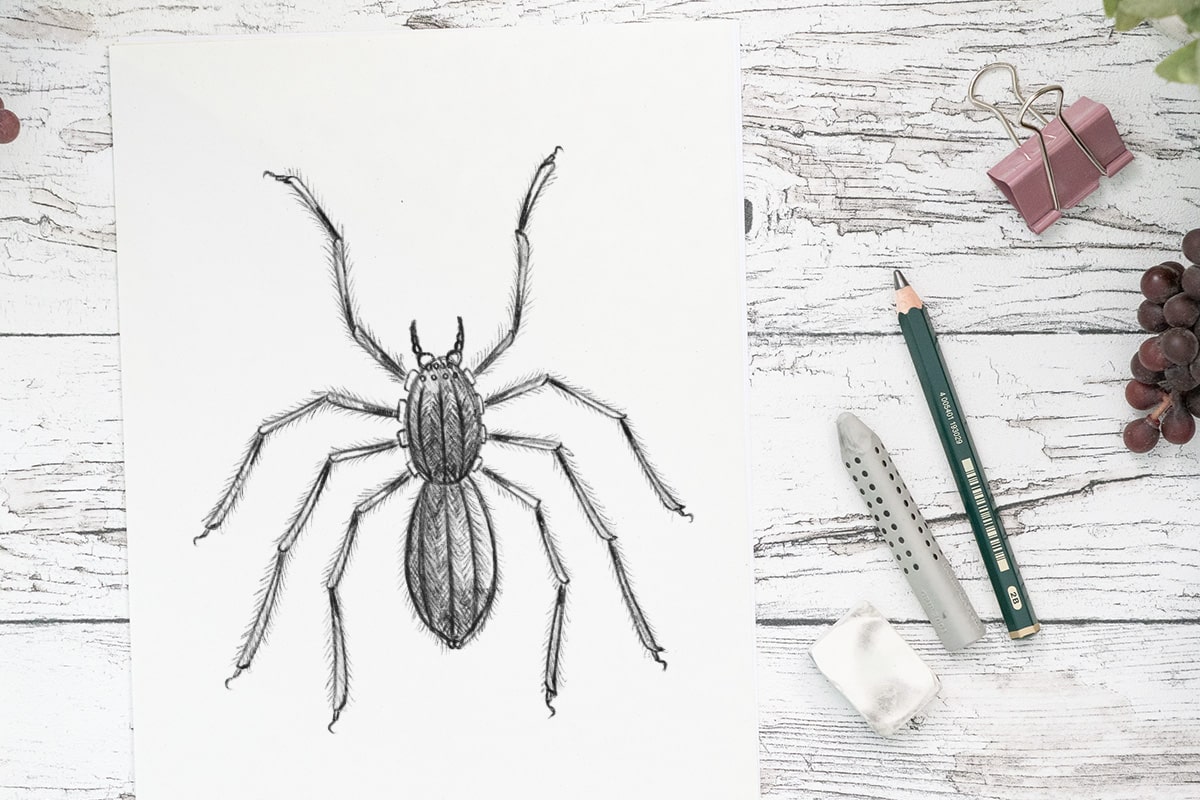
Starting with a vertical line and a circle
When drawing a spider, you need to pay attention to the proportional balance of the spider’s body. That especially concerns the length of the spider’s legs. Simply put, we will draw the left and right sides of the spider symmetrically (this is like a mirror technique if we draw digitally).
Sketch a vertical line in the center of the paper and sketch an ellipse like an egg. It will be the spider’s head, where you will attach the legs later. Draw this section, and then the next step will be easy.
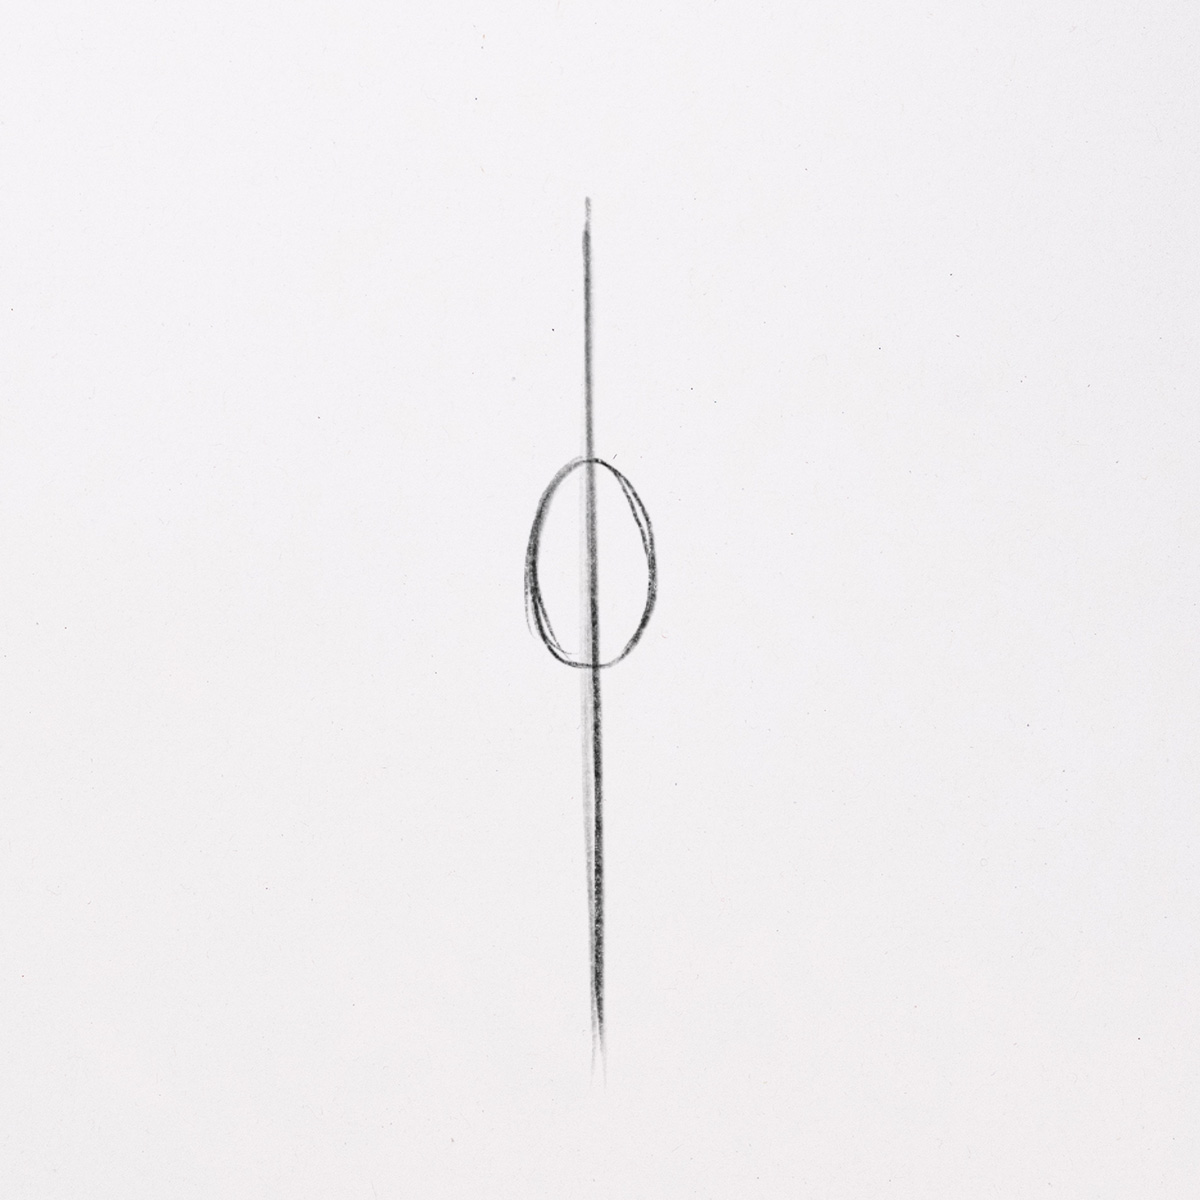
Drawing the basic shape
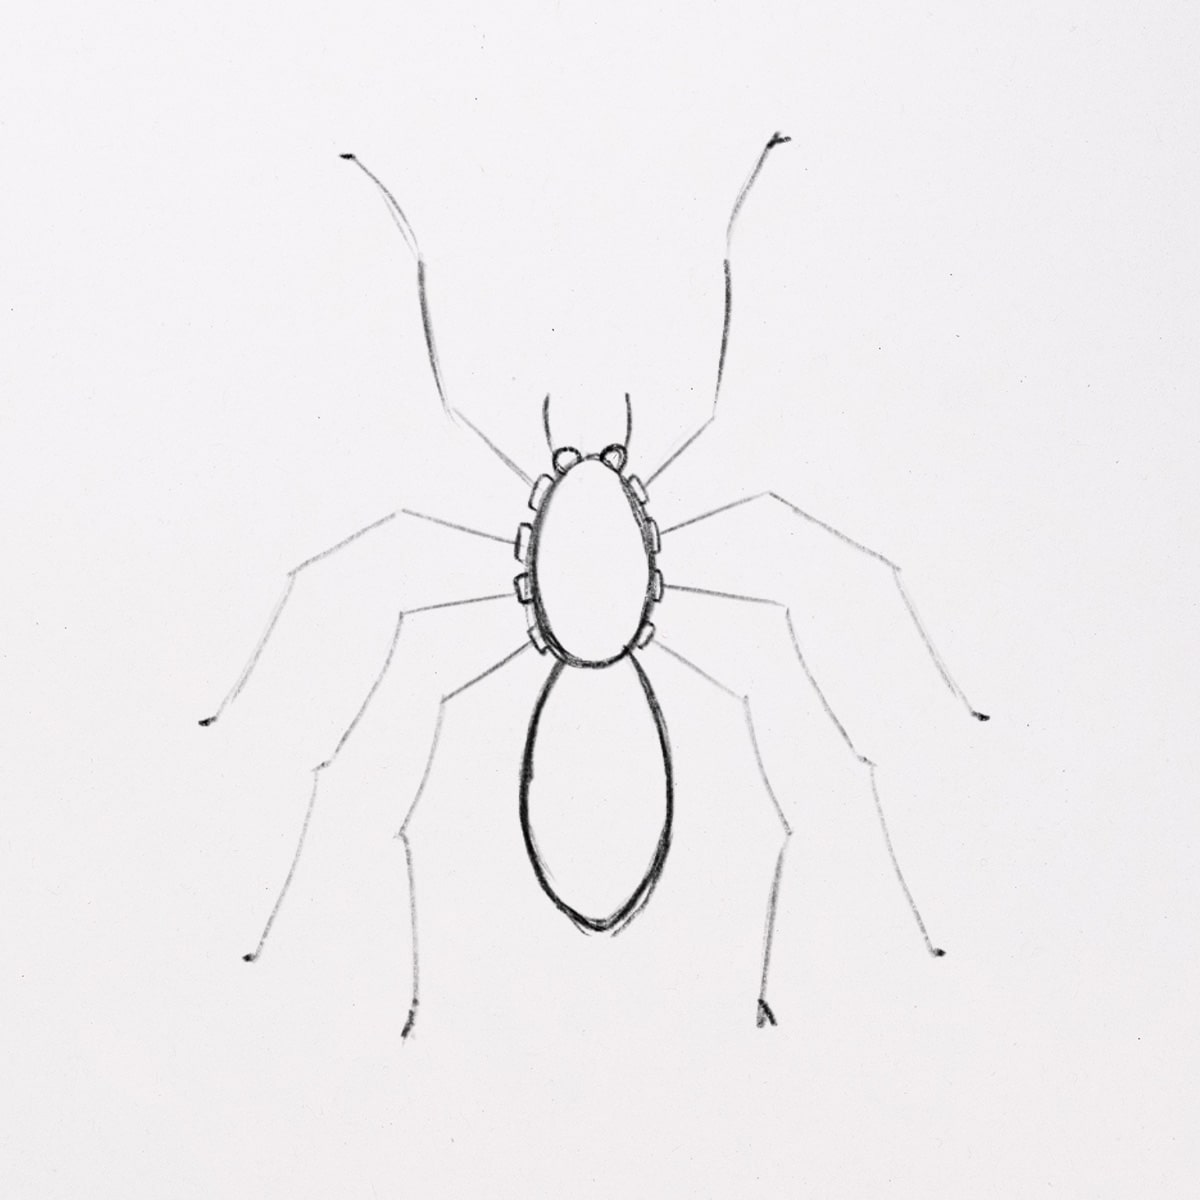
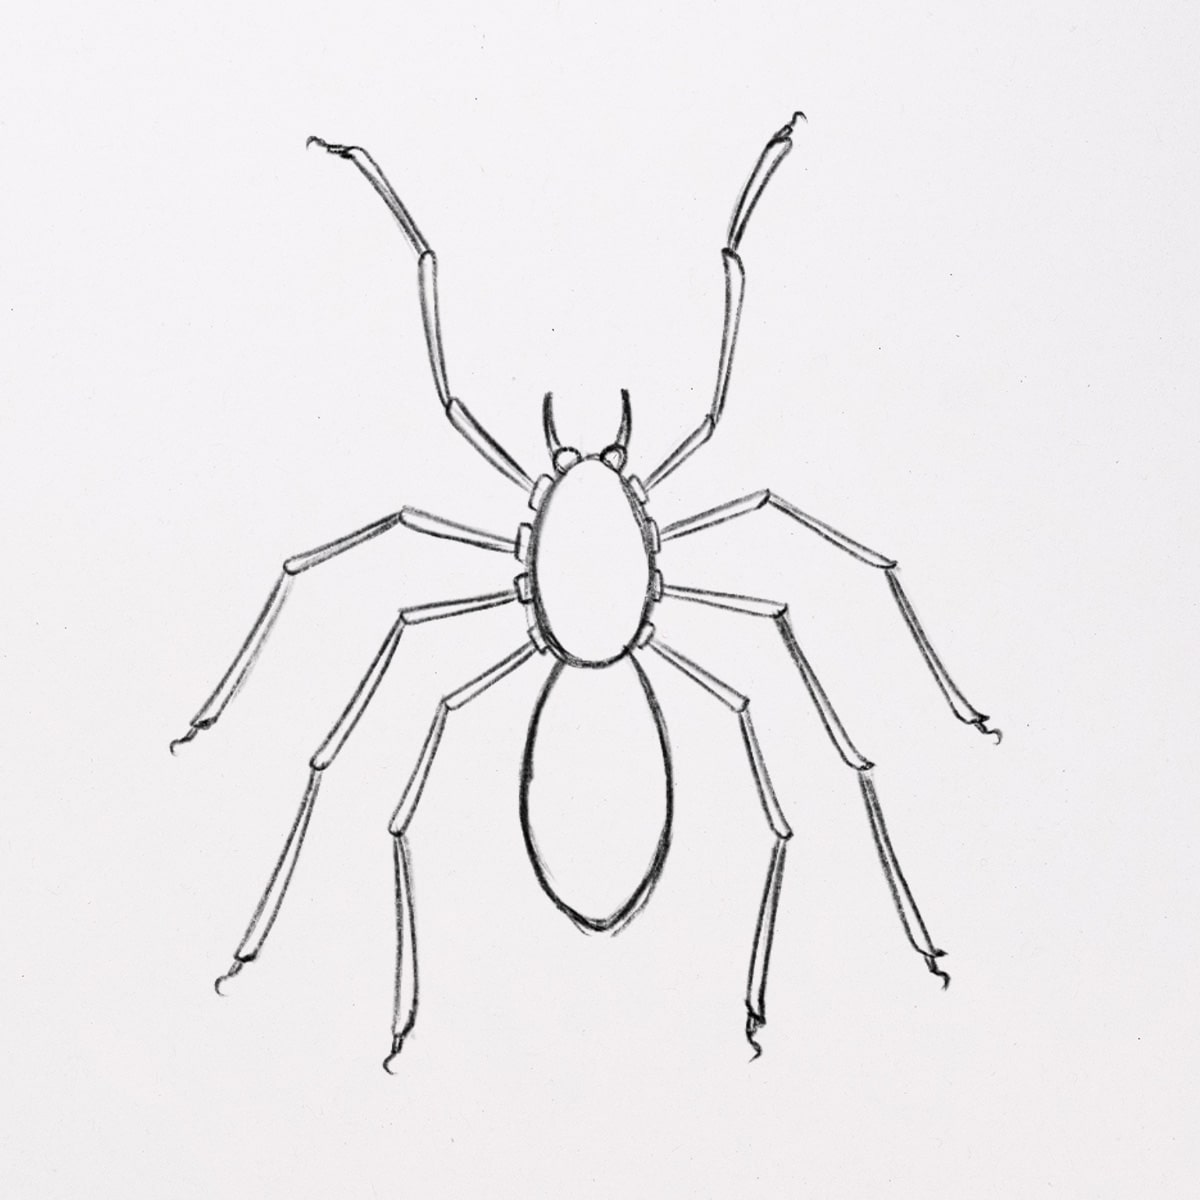
After you draw the first ellipse shape, the next step is to add another ellipse for the belly. Outline the ellipse and add the forehead to the spider’s head by adding two circle shapes. You can delete the vertical line because it’s just a guideline for drawing the ellipse shape of the spider’s head and body.
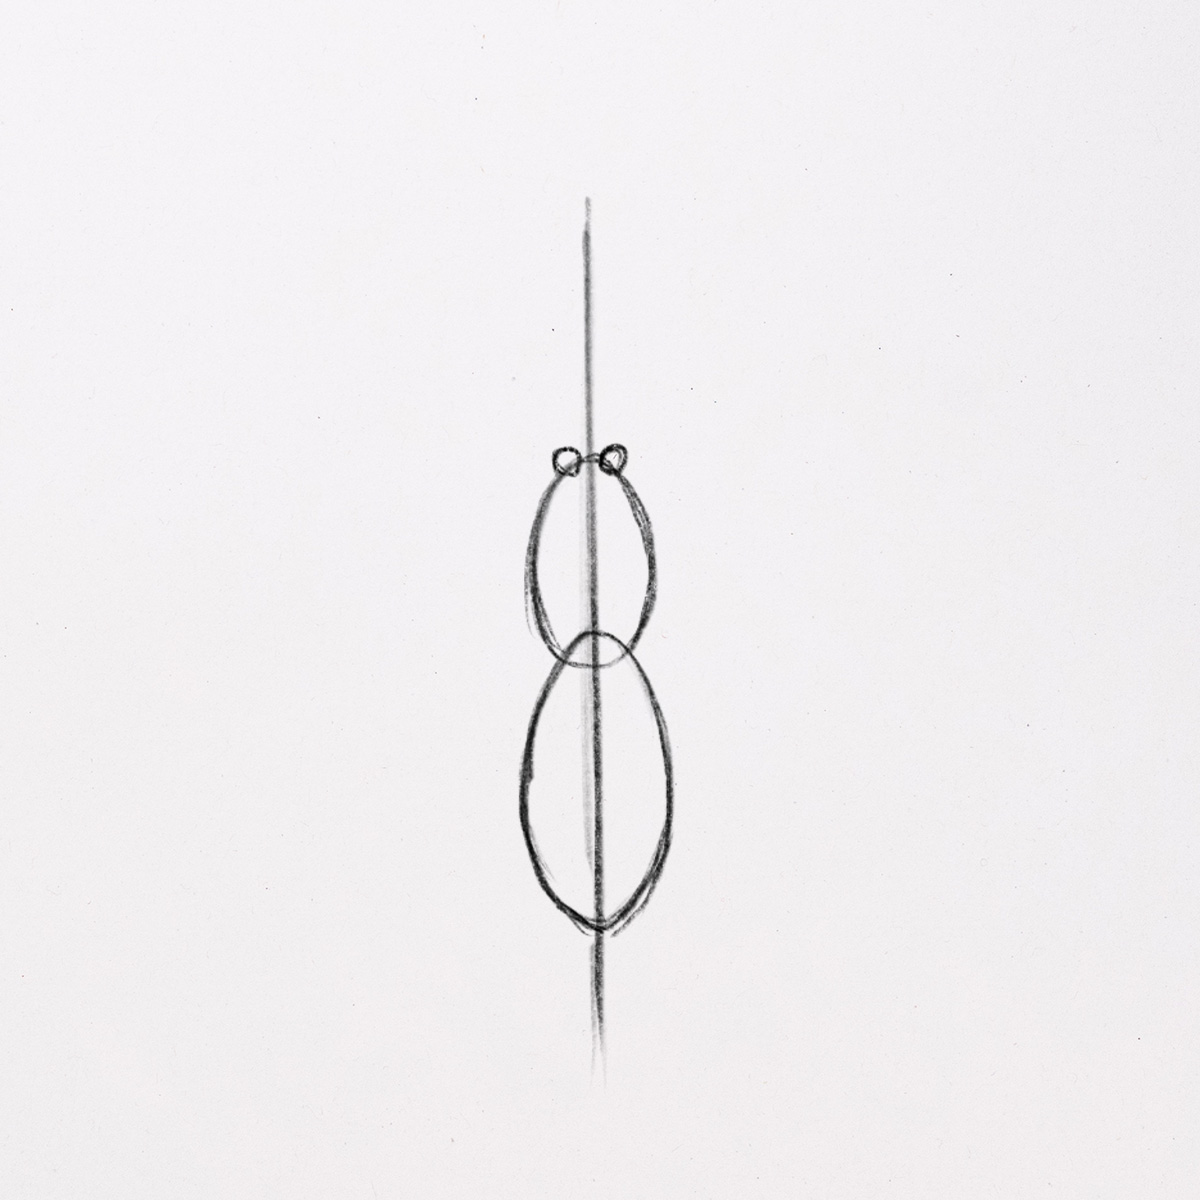
On each side of the spider’s head, sketch eight roots of the spider’s legs. You can make it four on the left and four on the right. Make it like a mirror effect. You can outline it evenly on both sides.

Preparing to the spider’s legs
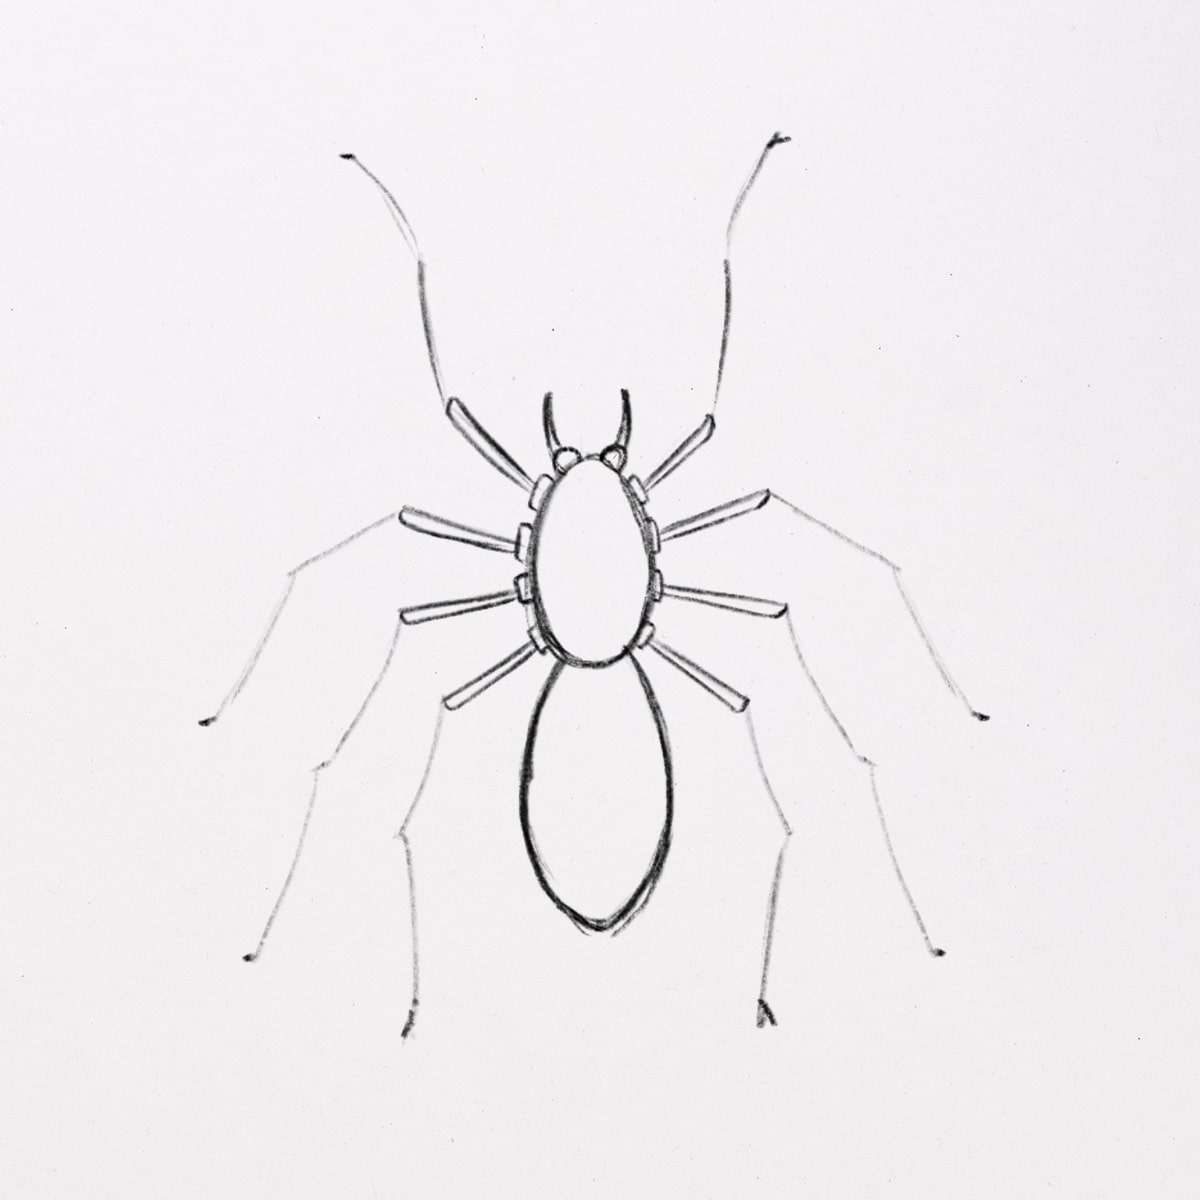
Sketch the palps, and start drawing the spider’s legs. The palp is the part of the spider’s head that looks like an antenna.
Make sure each leg consists of 3 parts. The spider’s legs appear to have different directions. So you need to pay attention to them according to the sample images listed.
Okay, now we’ve got the basic shape of a savage spider ready to pounce on anyone who dares to disturb it. But don’t worry. As long as we don’t disturb it, we’ll be safe.
Adding thickness to each leg
The previous image already shows the shape of the spider as a whole. But we will add another detail to make the drawing of our spider look more natural. Now let’s complete each spider’s leg.
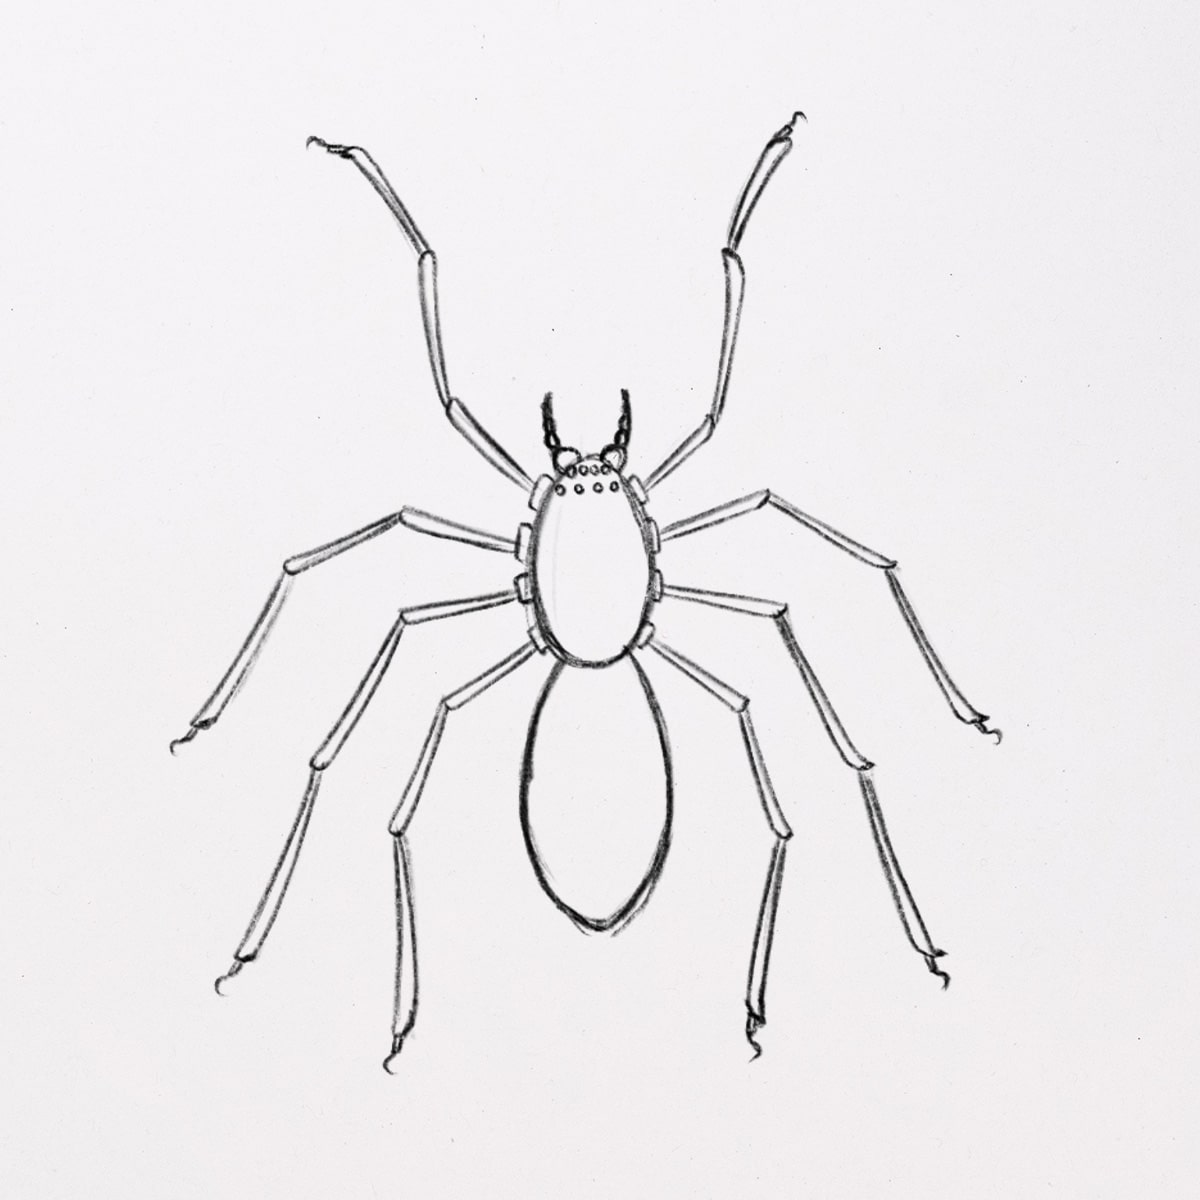
First, sketch the part of the spider’s legs attached to its body. We make a shape resembling a block or a trapezoid. And for the palps, we added a triangular shape which helps distinguish forms with spider legs.
Sketch the center of each leg. You have to be careful with the thickness. If possible, make the middle leg’s thickness thinner than the part of the leg attached to the spider’s body.
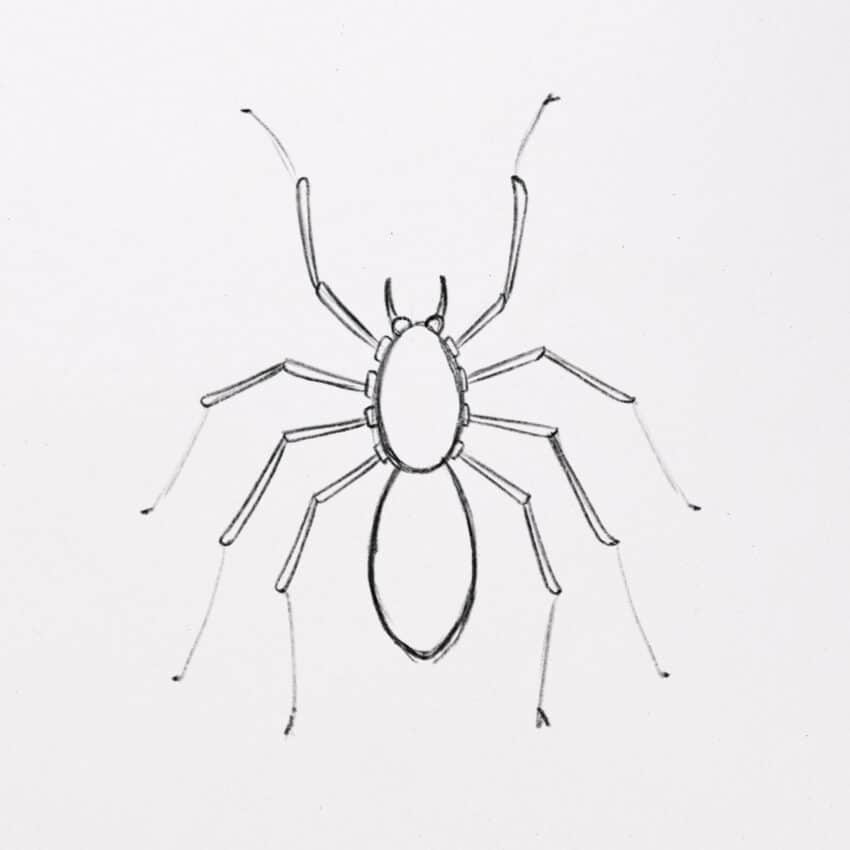
Finally, add the last parts of the legs. Try to keep the same width all over the different shapes you have to draw.
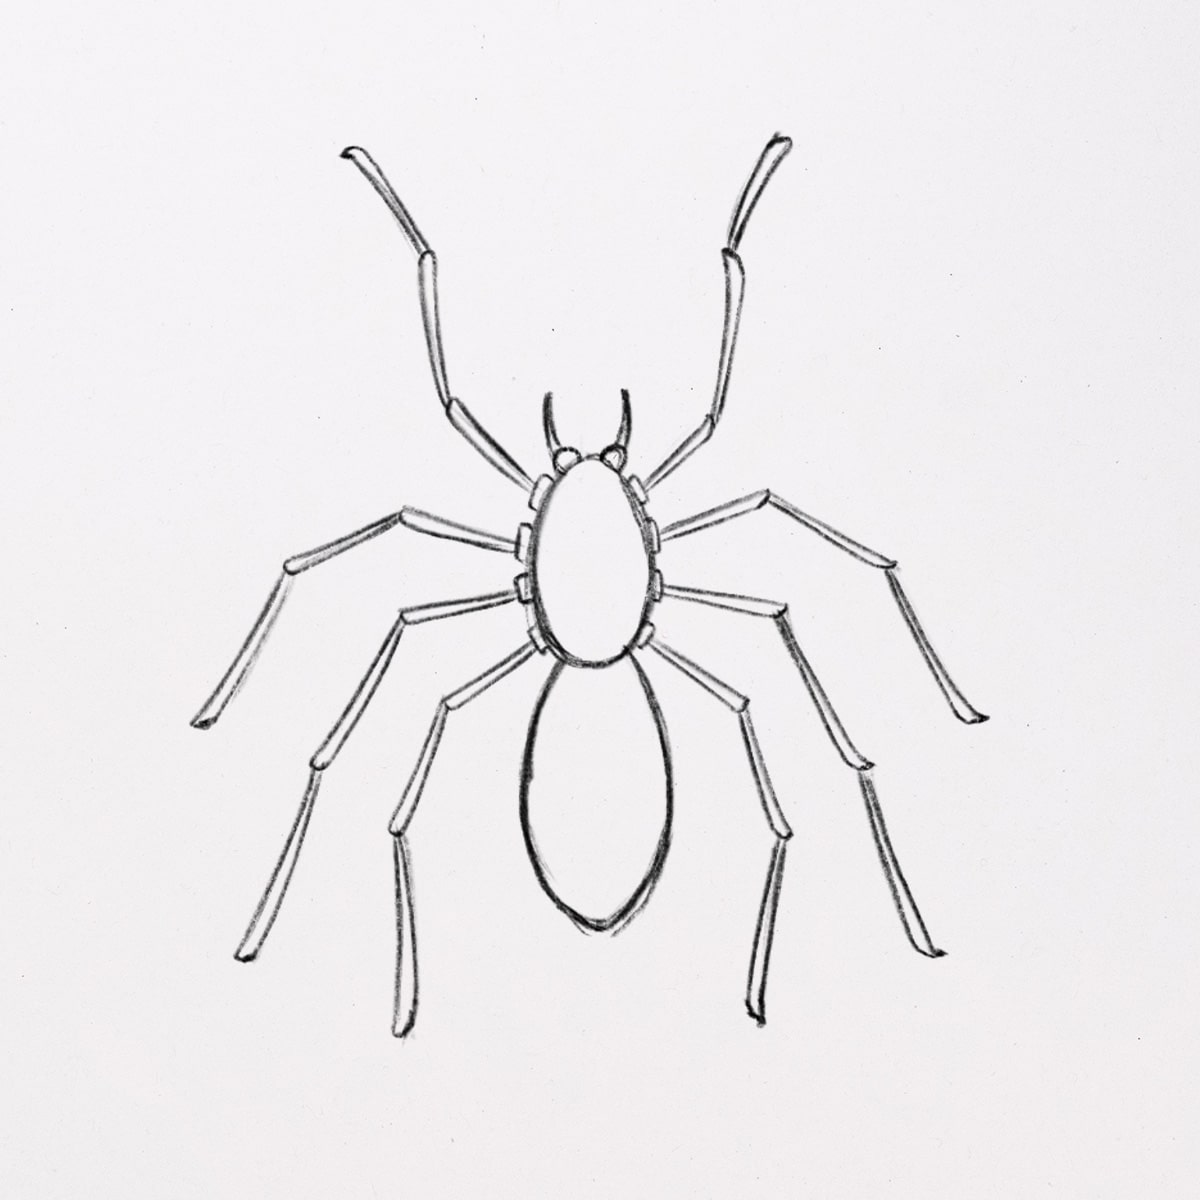
Let’s move on to the next step. Sketch the toe and add claws at the top of each leg that will form like a fishing hook. Finally, we already finished drawing the spider’s legs as a whole. Just add some details and textures that make it look natural.
Detailing the surface body
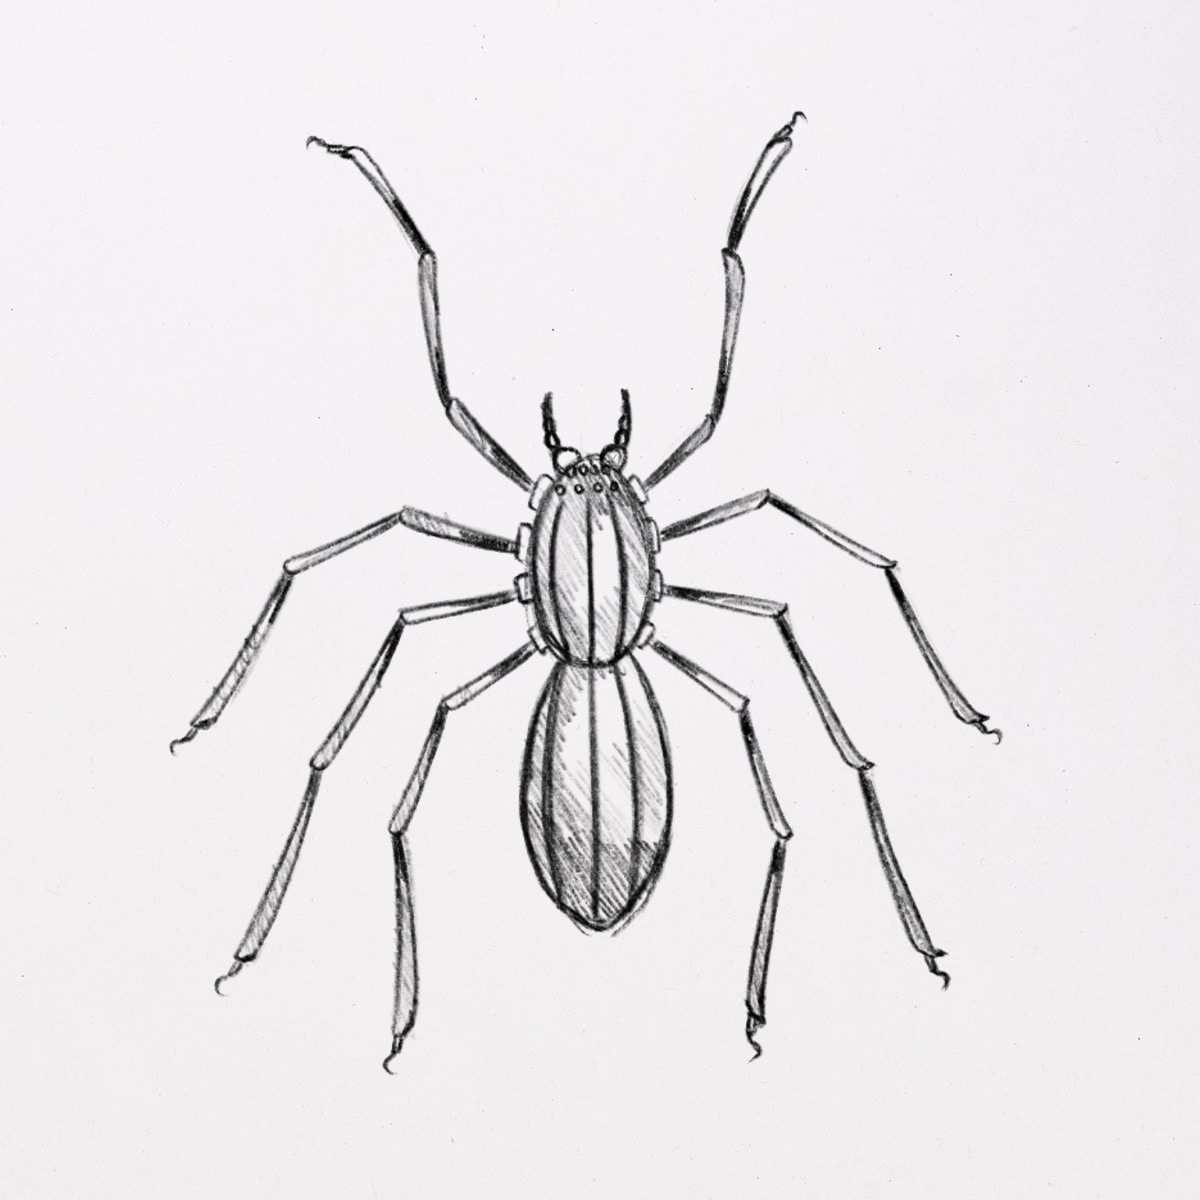
If we want to get a drawing of a spider that looks alive, we need to detail the skin of the spider. That includes the head, body, and feet. In the first step, we add a little curve to the palps and continue on the head by adding small circles like spider eyes.
Start shading the spider’s body and legs. You only need to add some strokes line because there are types of spiders that have stripes. So, we need to add a few lines.

Adding tone values
Do not forget to add value to each part of the spider’s body. That is important to make the spider’s shape look more voluminous.
Final touches
After adding value with hatching and cross-hatching strokes, we start adding the finishing touches by drawing two small circles on the spider’s tail called spinnerets. That serves as where the spider produces its web.
Some spiders have fine hairs on their body surface. So we’re going to draw those smooth lines.
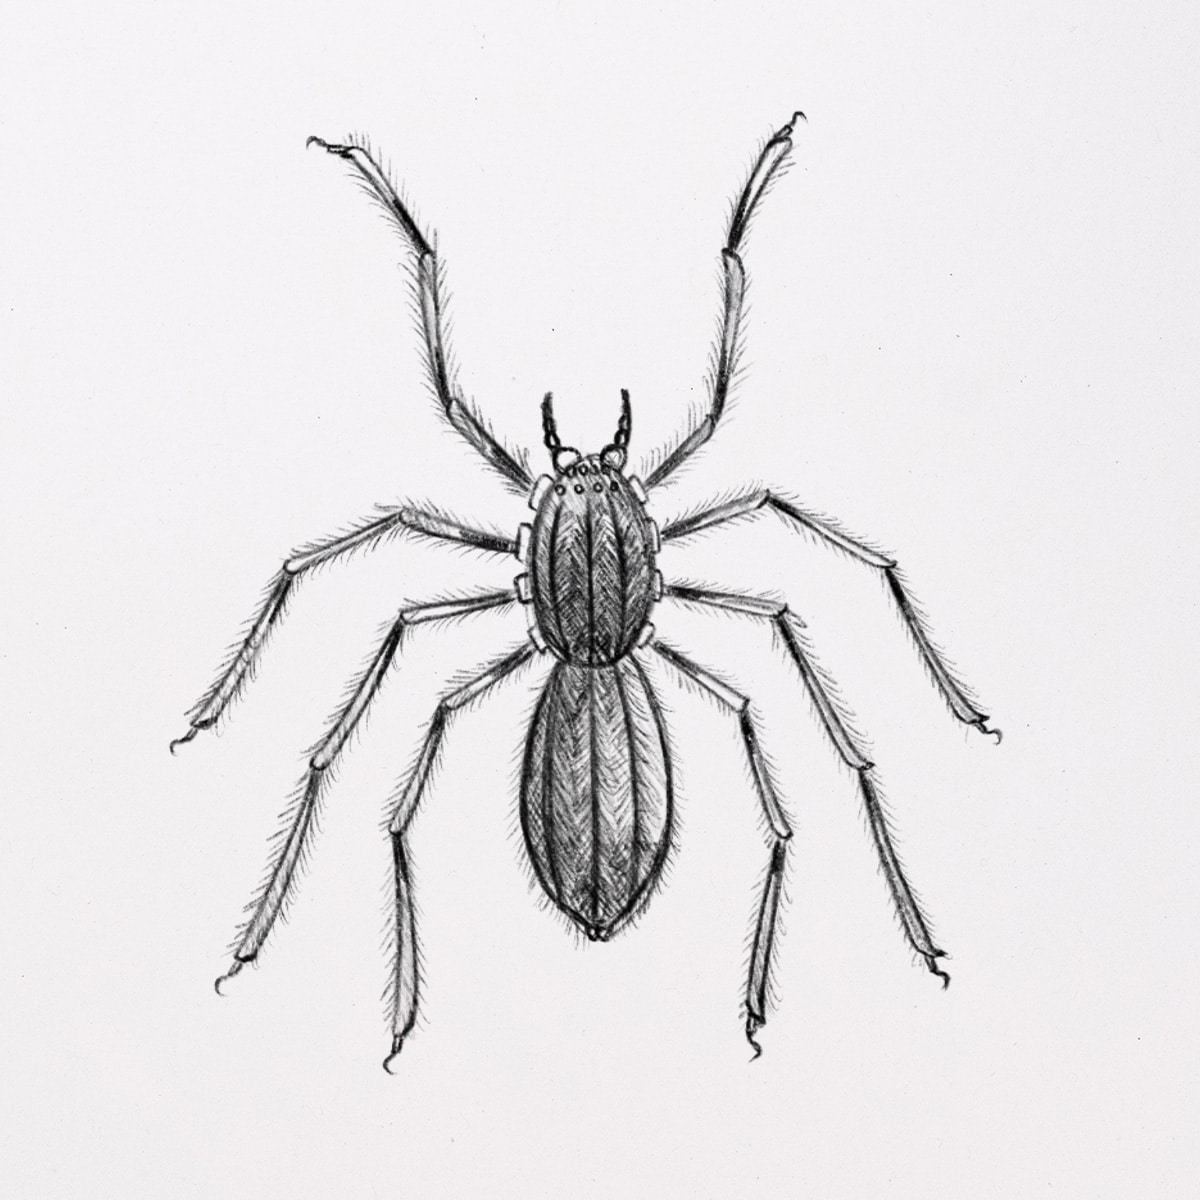
And finally, you know how to draw a spider. Remember, if you come across a spider with a unique shape, please stay alert and don’t touch it! Happy drawing!

nice drawing and very easy to do
soeasytodraw
to good i cant look at it with out being terified