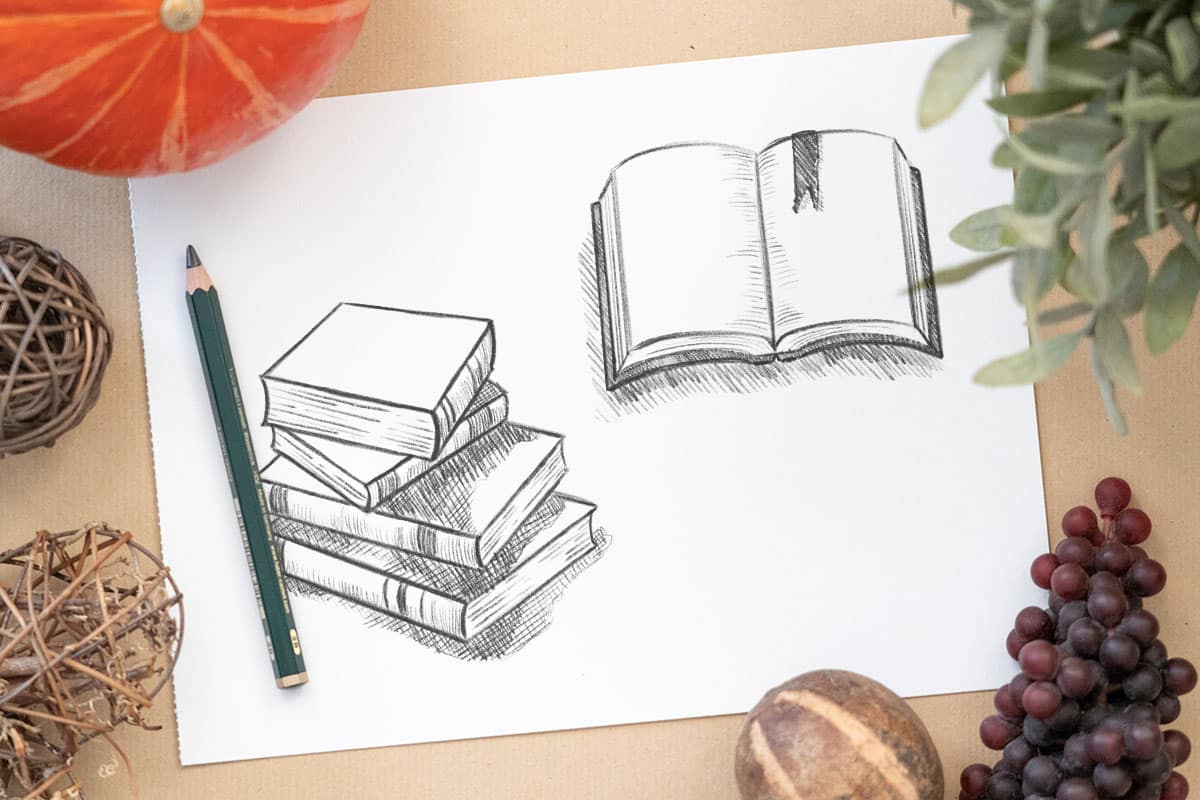
Let’s learn how to draw a book! In this article, we will go through the whole process of drawing a book, step-by-step.
We will start this tutorial with a single opened book (lying on a table). After that we will move on to multiple closed books in a stack.
So, grab your pencil and an eraser and let’s get started!
Contents
- 1 Drawing an opened book
- 2 Drawing a stack of books
- 2.1 Starting with a simple rectangle
- 2.2 Cloning the basic shape
- 2.3 Connecting the corners
- 2.4 Deleting unnecessary lines
- 2.5 Adding another rectangle
- 2.6 Cloning and connecting the lines
- 2.7 Deleting lines
- 2.8 Adding a smaller book
- 2.9 Cloning lines
- 2.10 Erasing unnecessary lines again
- 2.11 Drawing the last book
- 2.12 Make the book look thick
- 2.13 Deleting lines again
- 2.14 Adding details
- 2.15 Making the books look interesting
- 2.16 Applying tonal values and shading
- 3
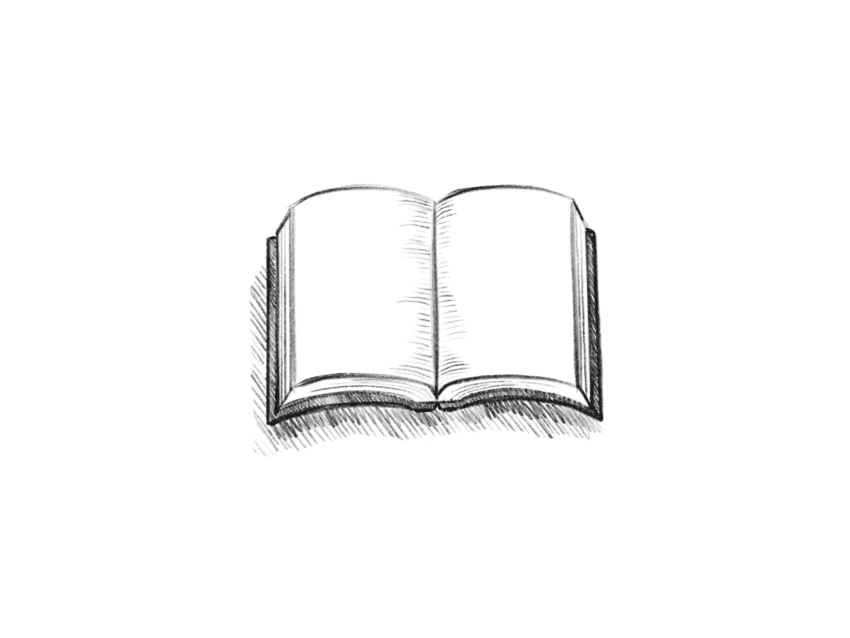
Drawing an opened book
Starting with a vertical line
The first step in drawing an opened book is to make a straight line as a reference.
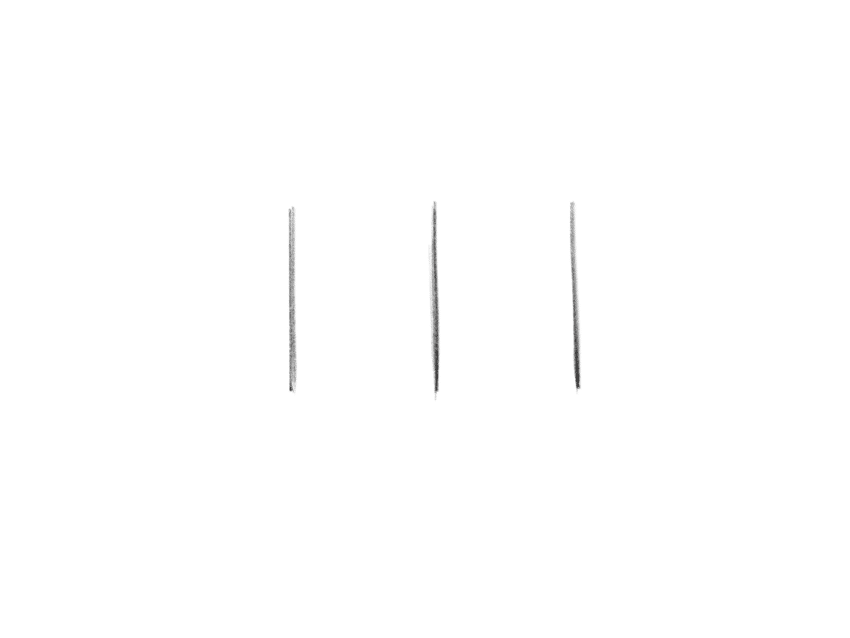
Adding two more lines
After that, add another one to the left and right. We will use these lines as a reference to draw the basic shape.
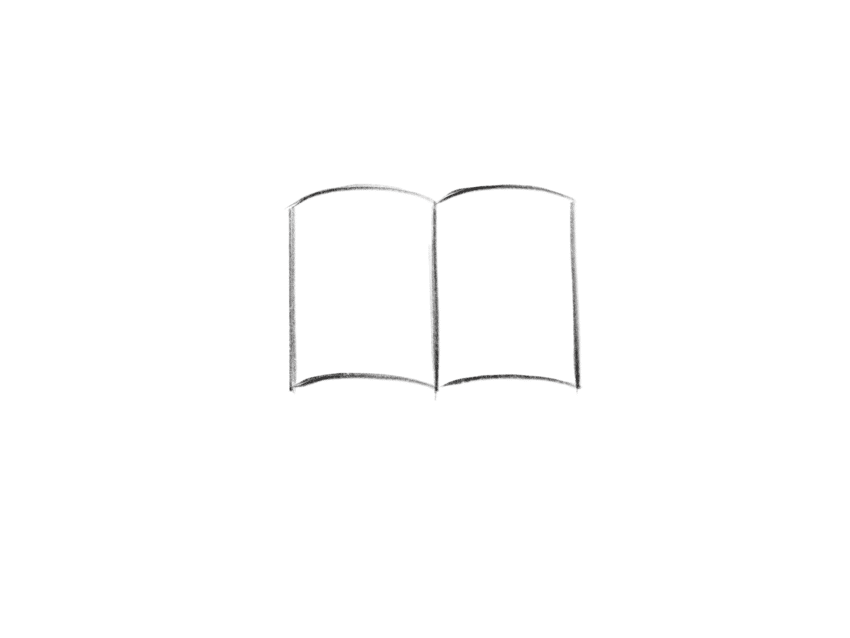
Drawing the basic shape of the book
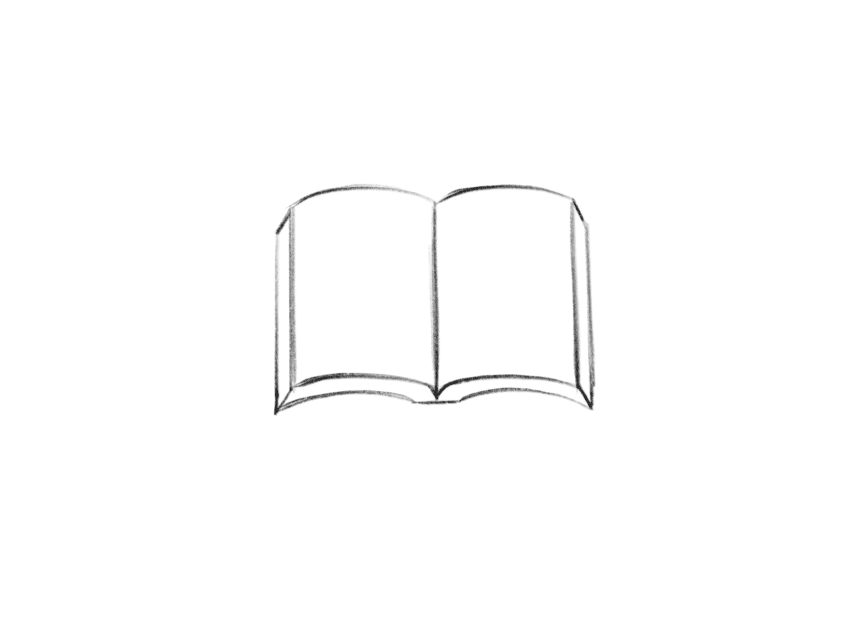
To start drawing the basic shape of the book, connect each straight line with a curved line. Once completed, you’ll have the form of an open book drawing.
Add thickness to the book
The basic shape is now visible, and we are stepping into the thickening stage where we will try to make the book drawing look thick. Otherwise, it will just look like a piece of paper.
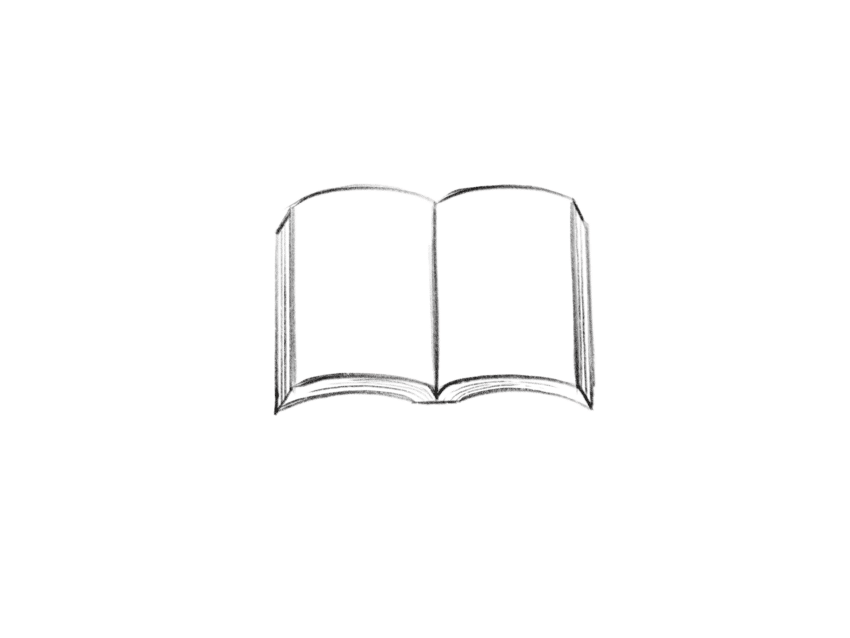
Detailing the outline
Next, we will add some details to the outline. The contents of the book consist of several pages, so we will draw thin lines at the edges to show that its a stack of multiple papers.
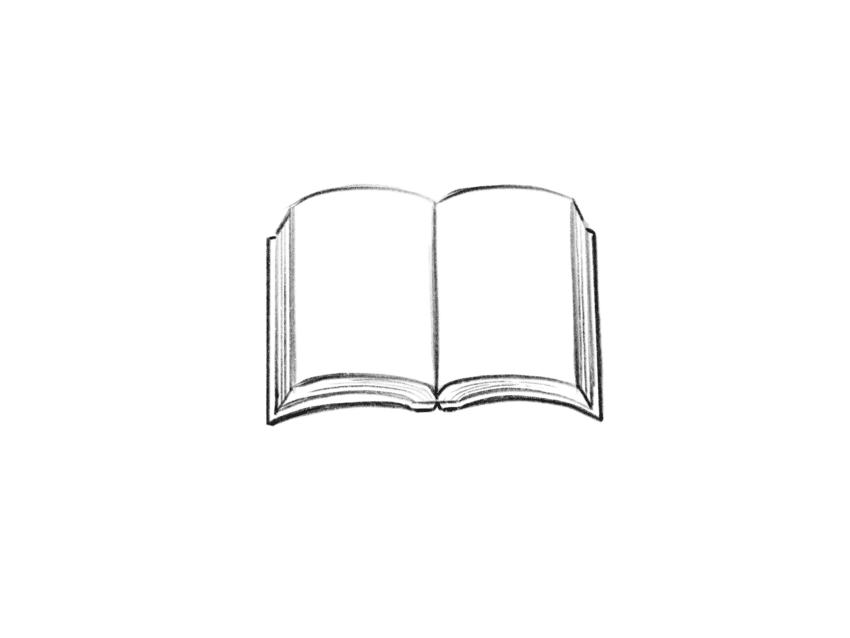
Drawing the cover
In addition to content, books also have covers (for sure). In the following step, we will draw straight lines from the left side to the right side and add a curved line at the bottom of the book. Finally, the book will look way more complete, doesn’t it?
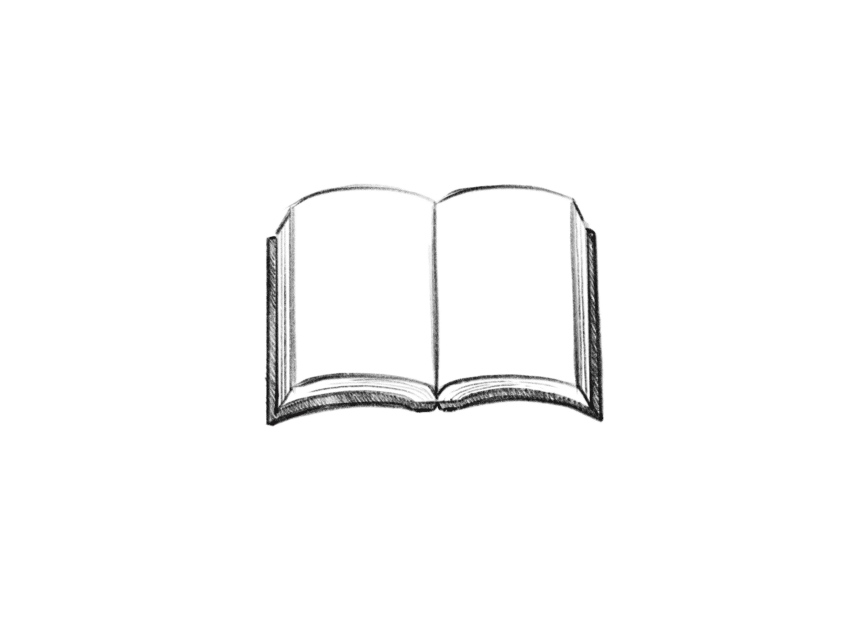
Shading the cover
To differentiate between the content and the cover of the book, add a little bit of shading to the cover. The new contrast helps a lot!
Even more shading
In the next step, we will add tone values and shading to the surfaces of the book. This makes our book look even more realistic. The shadow also helps to make the drawing look like a book on a table.
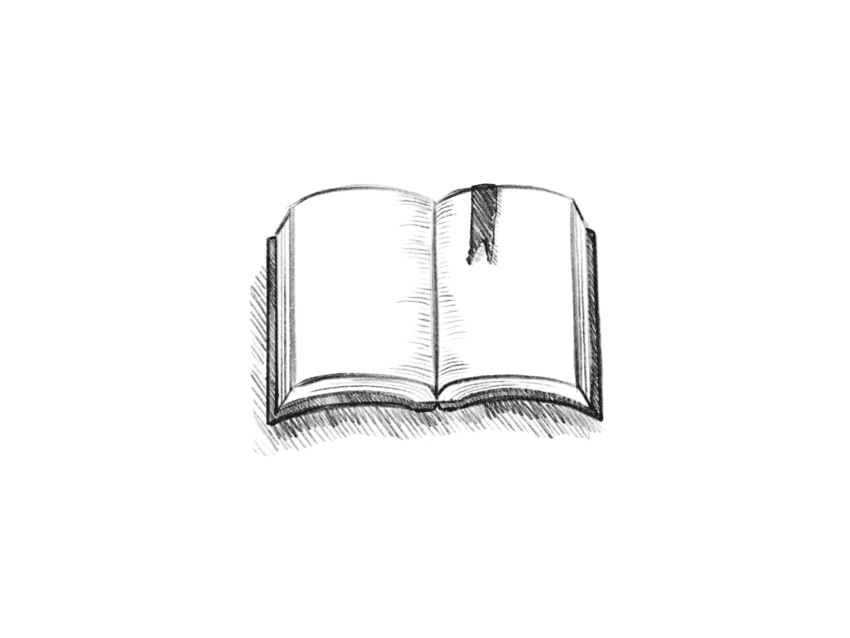
Final touches
Finally, we will add a bookmark as an alternative way to beautify the drawing of the opened book. Looks like it’s time to read, now.
This was the first part of the drawing tutorial. Now let’s move on to the stack of books.
Drawing a stack of books
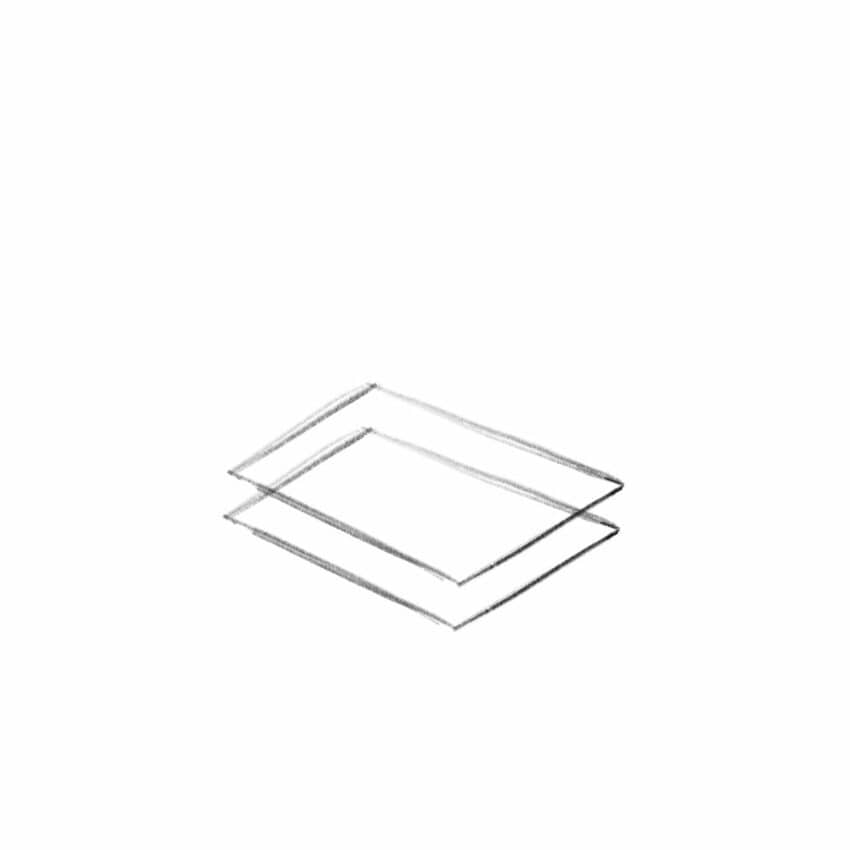
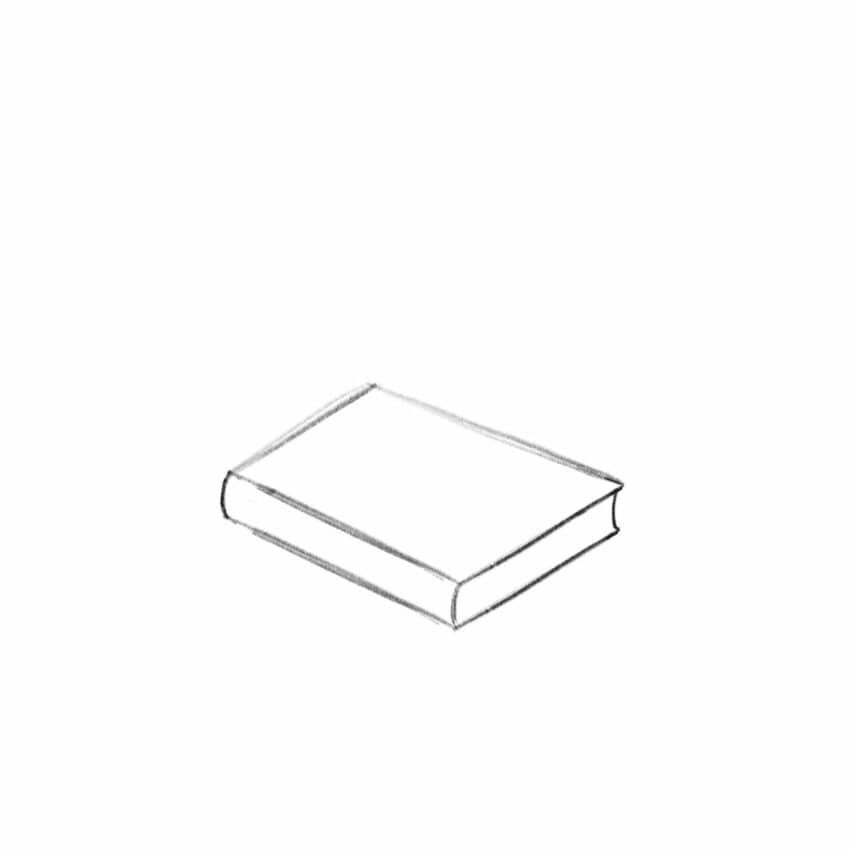
Starting with a simple rectangle
We will start by drawing a rectangle-like shape using four straight lines. It will be the top of the first book.
Notice how the sides come together slightly as they move away from the viewer. It is known as perspective, and converging lines are orthogonal lines.

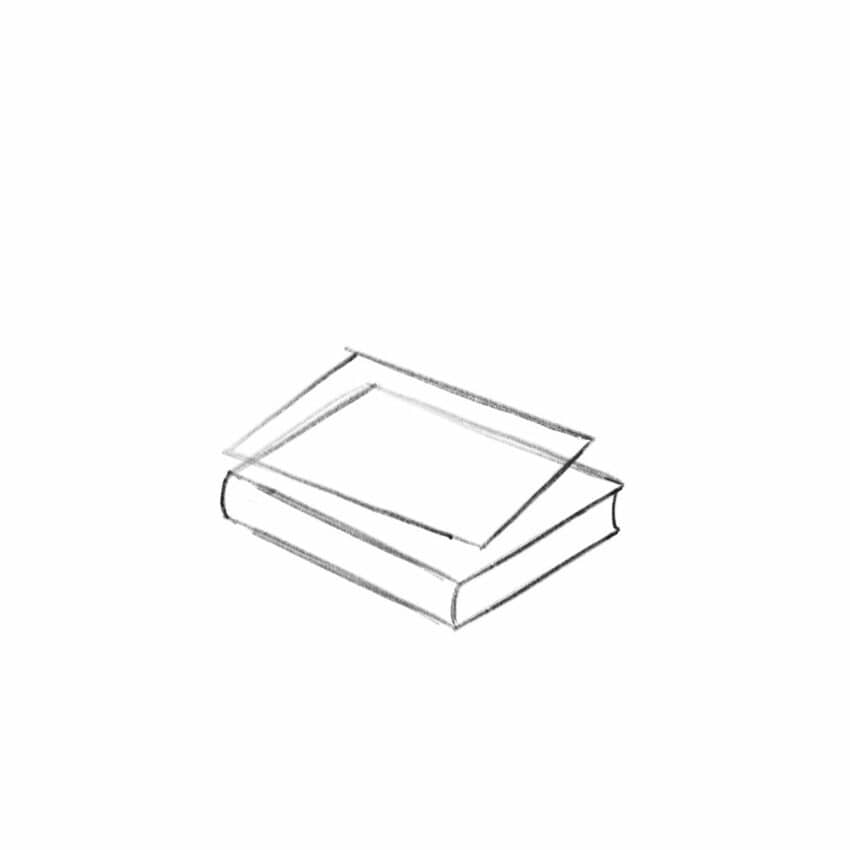
Cloning the basic shape
Next, we need to redraw the rectangle we drew earlier. It’s just like a cloned version of the basic shape moved upwards.
Connecting the corners
Add some curved lines in each corner of the rectangle so we can see the shape of the book faintly.
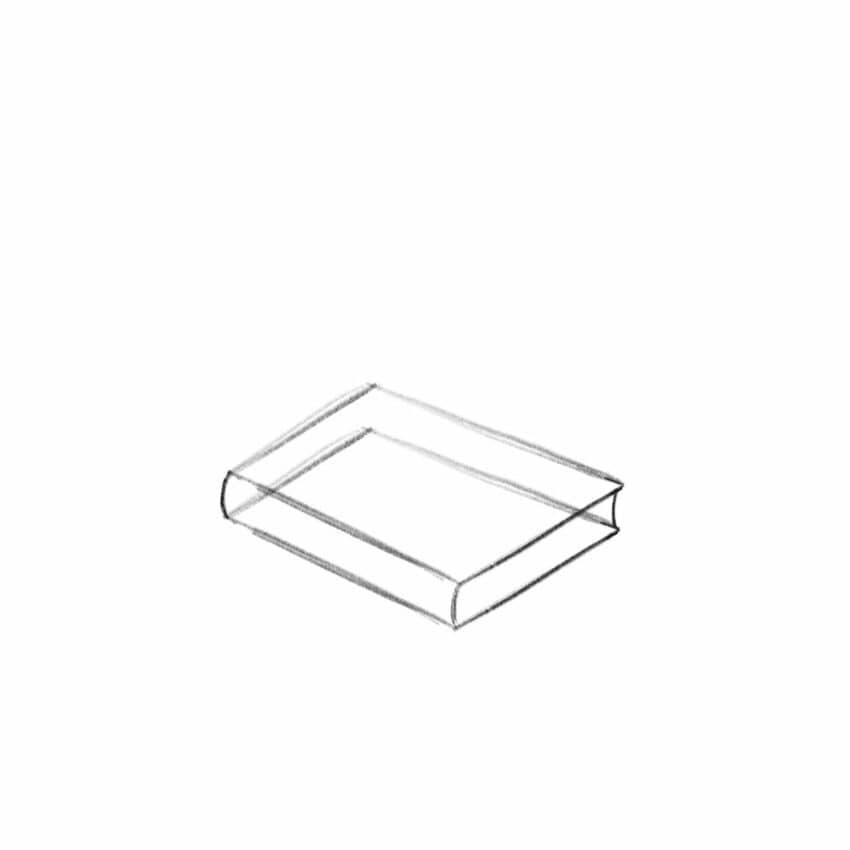
Deleting unnecessary lines
You only need to remove some unnecessary lines. After that, we will get the basic shape of the first book. A good start but I want to add some more books!
Adding another rectangle
To create multiple piles of books, we repeat the same process for each book.
Starting by drawing a rectangle, adding another rectangle above it, connecting each corner with curved lines, and removing the guidelines from inside.
We continue this method until we get four neatly arranged book drawings. So let’s start our second book.
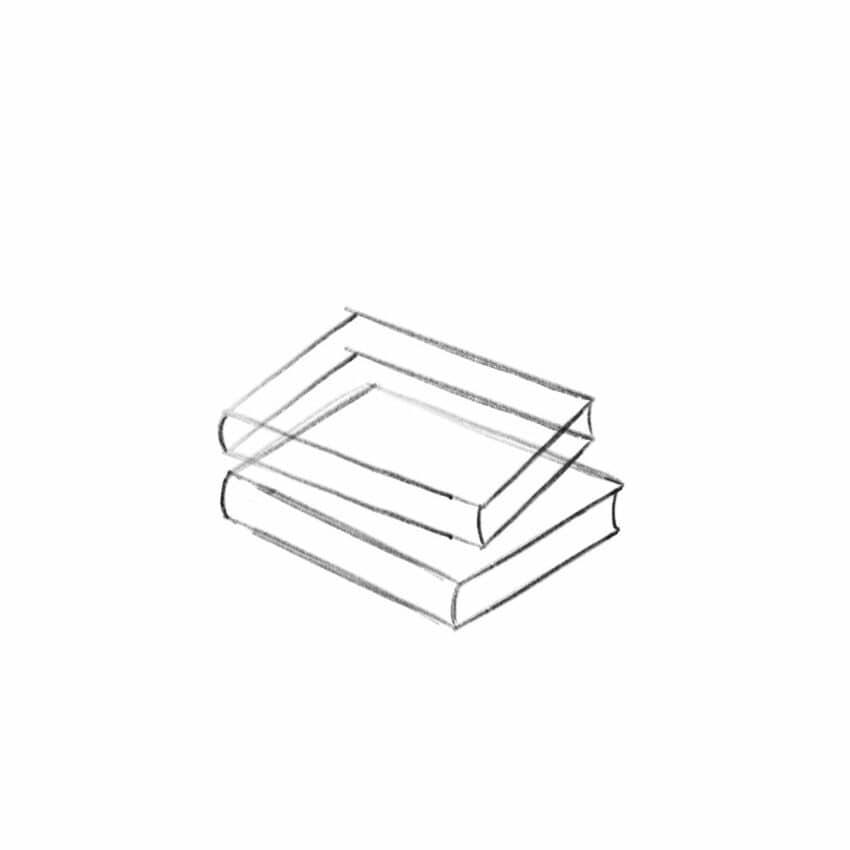
Cloning and connecting the lines
Like before, just draw a copy of the first shape. The distance to the first shapes defines the height of the book.
Remember to connect the corners with some curved lines.
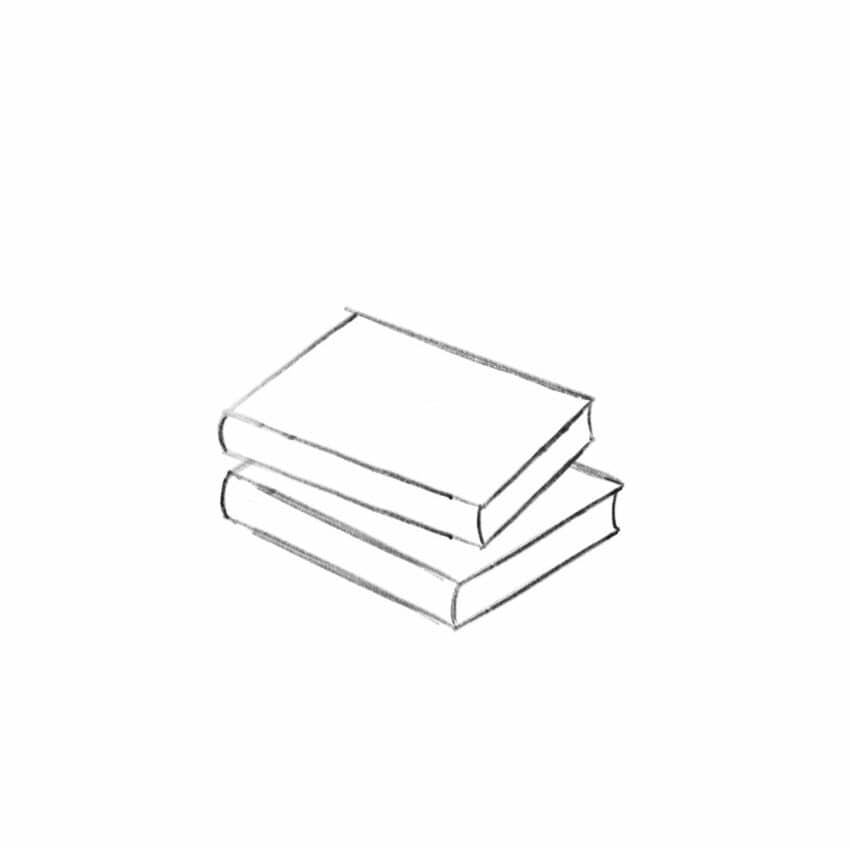
Deleting lines
Now delete the inner lines of the second book. Quite good, isn’t it?
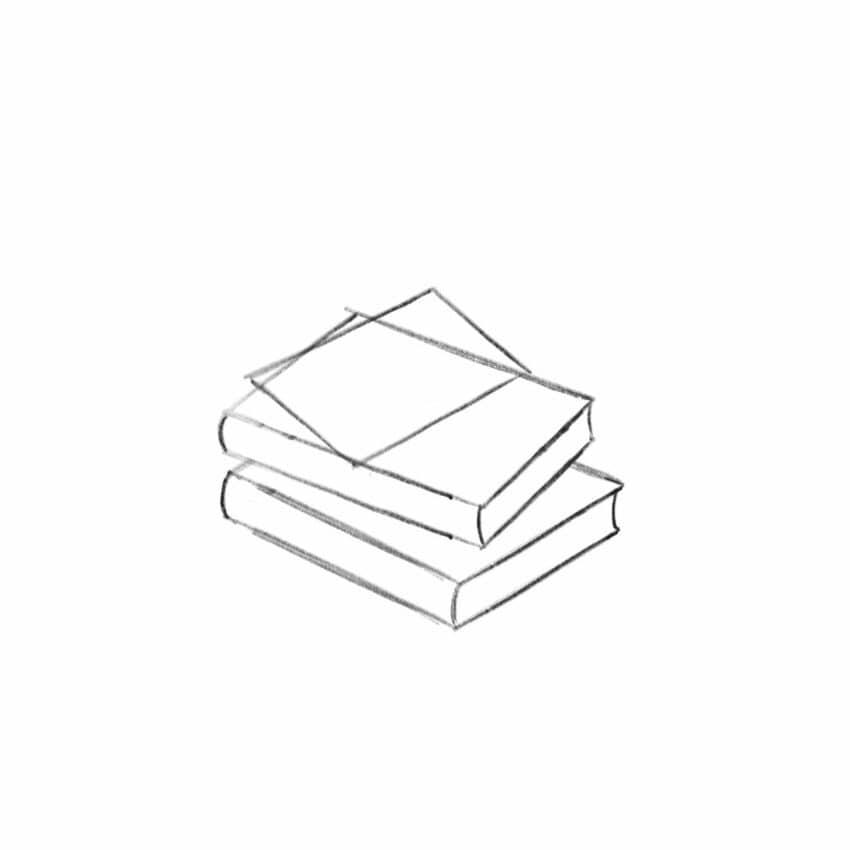
Adding a smaller book
Make the third book look different by drawing another rectangle with a slight rotation. This book is a little smaller than the others.
Cloning lines
You know what is coming next: Repeat the basic shape and connect the corners.
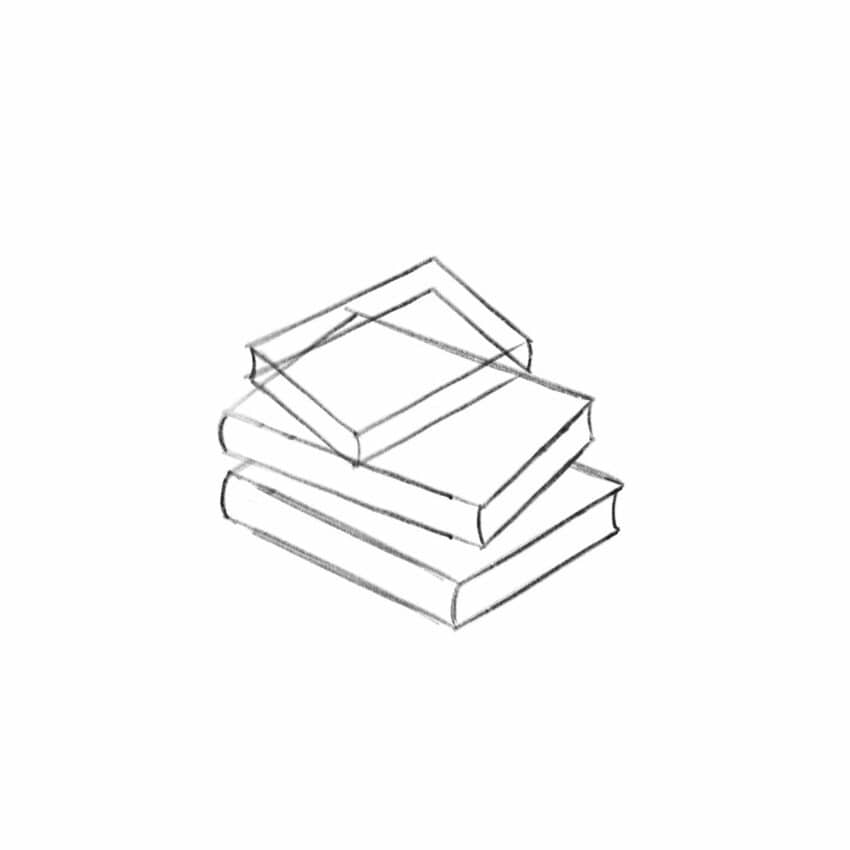
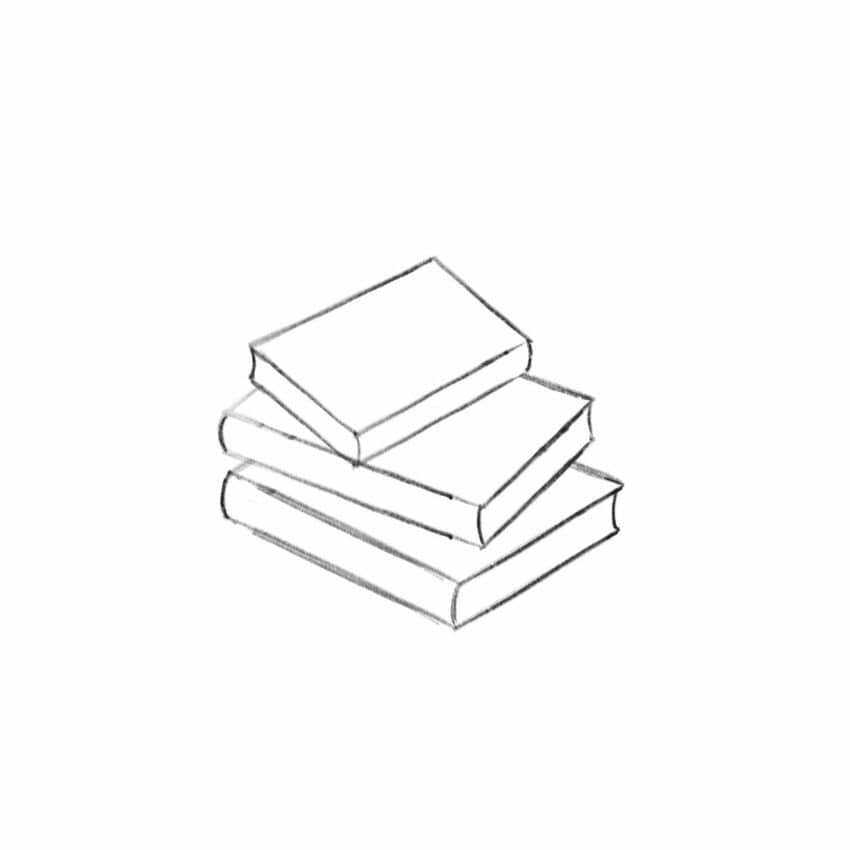
Erasing unnecessary lines again
And again, erase the superfluous lines. Our stack of books is slowly starting to take shape!
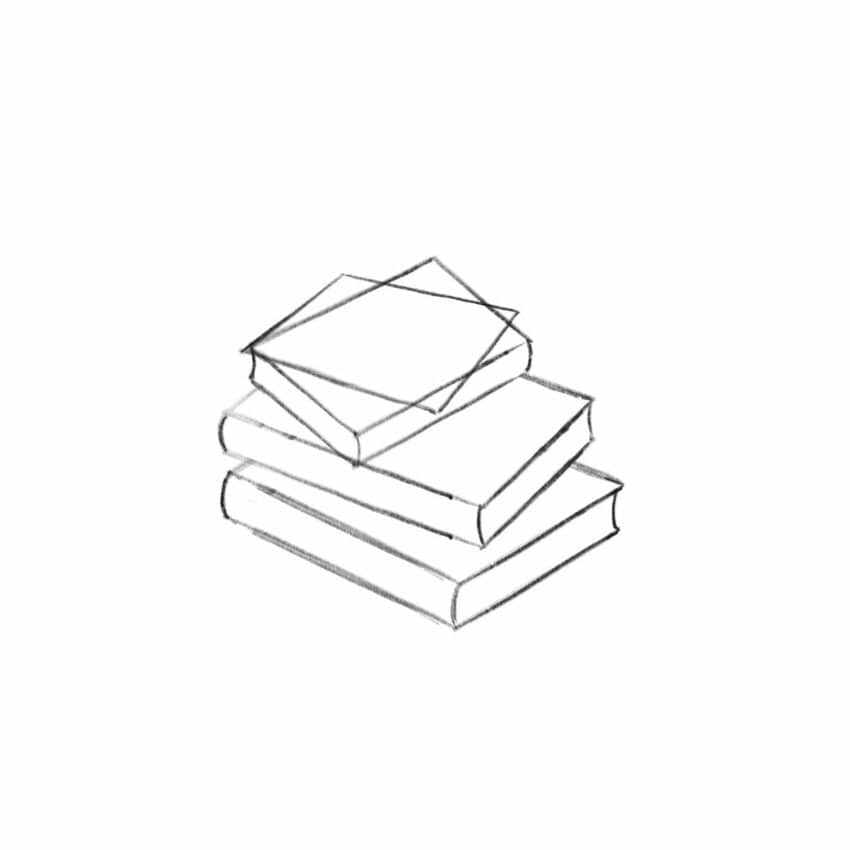
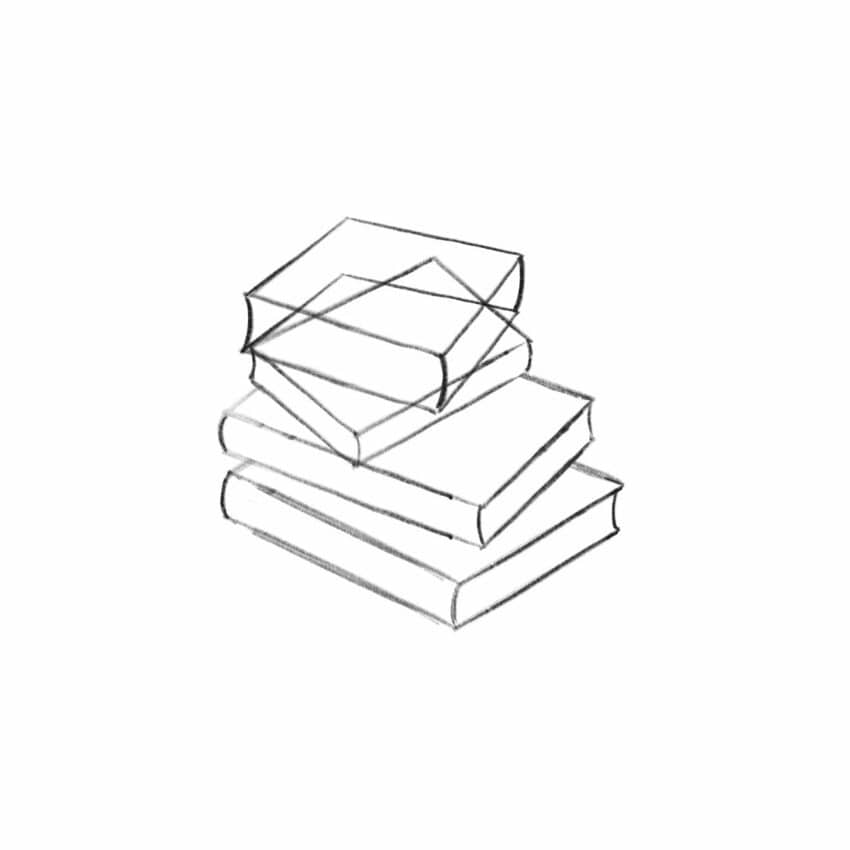
Drawing the last book
The next step is to draw another rectangle with a different rotation. It will also be a smaller one. The reason for this is that we will be drawing a book that is slightly thicker than the others.
The purpose of making it thicker is to showcase the diversity of books.
Make the book look thick
Again, add the same rectangle above. Connect each corner with a curved line to form the book’s volume. The fourth book appears way thicker than the others.
Deleting lines again
After that, remove the guidelines from the inside. With that, the fourth drawing of a book is finished.
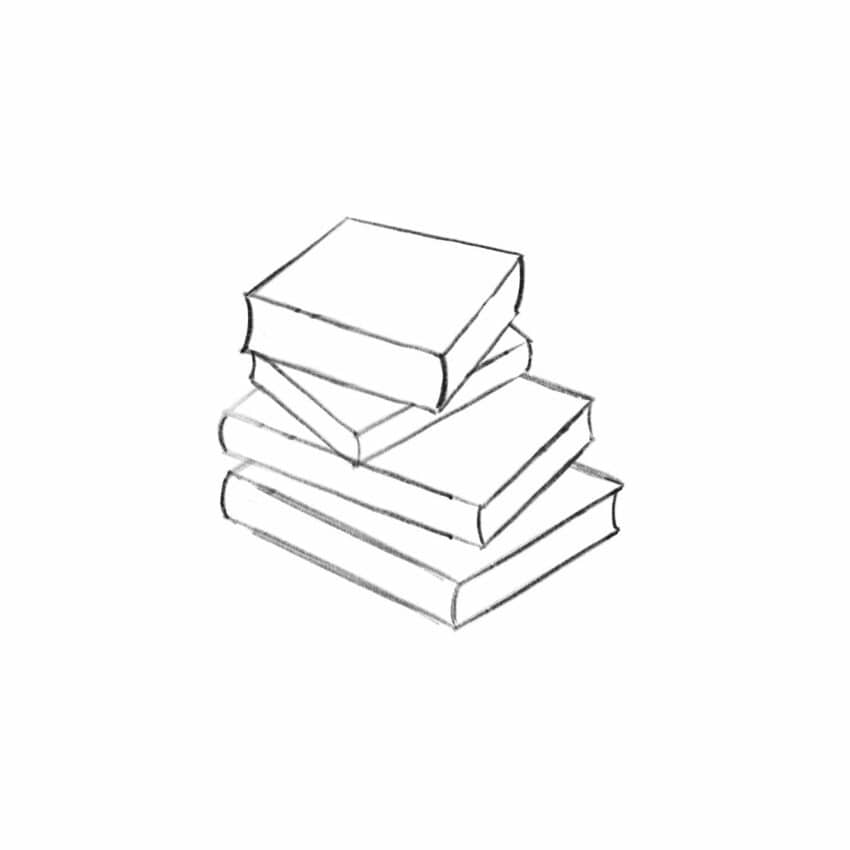
Looks easy and fun, right? But we’re not done here yet. There are still a few more steps to finish the full stack of books.
Adding details
Alright, we have four book drawings, but we need to add details to enhance their appearance. We’ll start by thickening the outlines, and then we’ll add thin lines to show both the cover and body of the book. This will give the books more depth and detail.
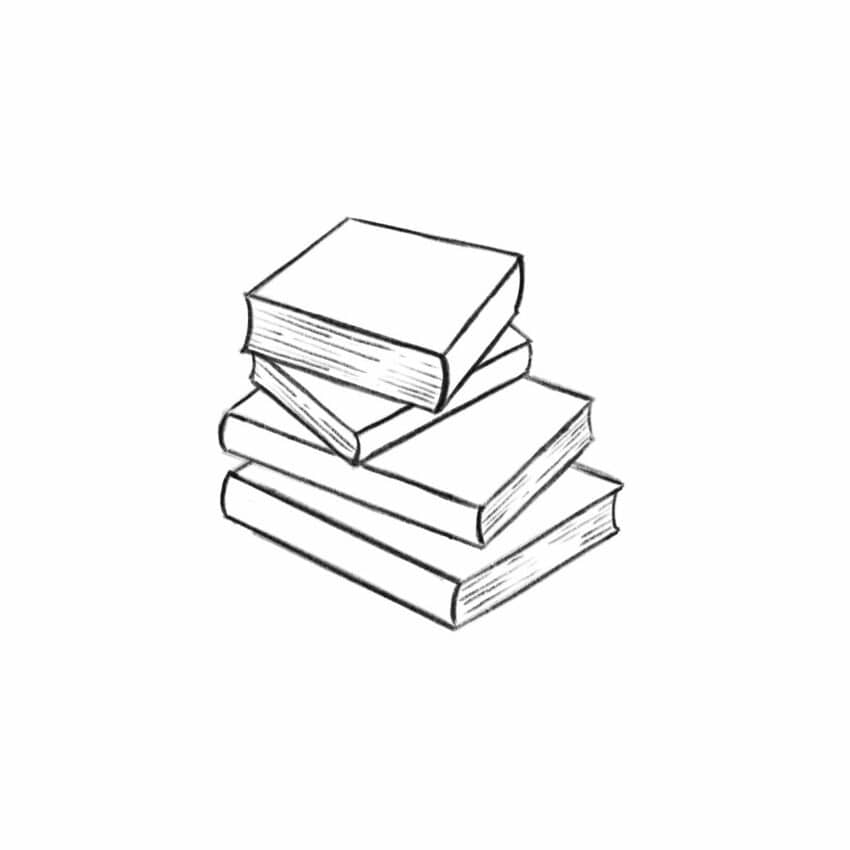
The outline has been thickened and some light lines have been added to the body of the book, resulting in a noticeable difference between the cover and body.
Making the books look interesting
Let’s add some more details to make our books look interesting. To do this, draw some details on the spine of the books.
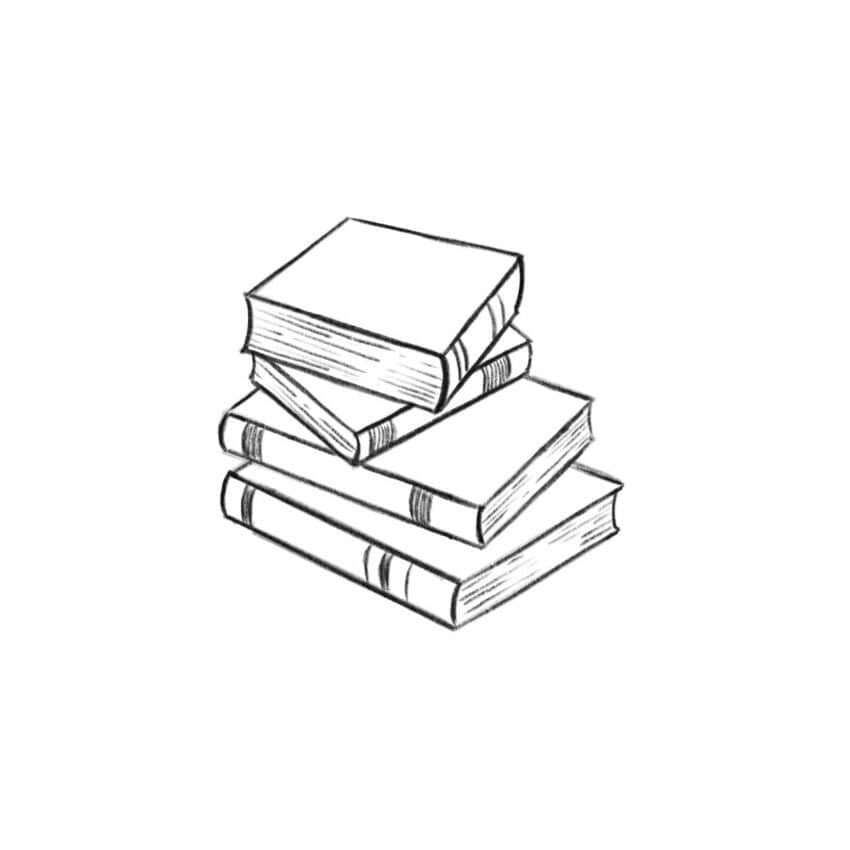
Applying tonal values and shading
We will move on to the final step, which is adding tonal values to the books. This process is very important because it makes our drawing look much more realistic.
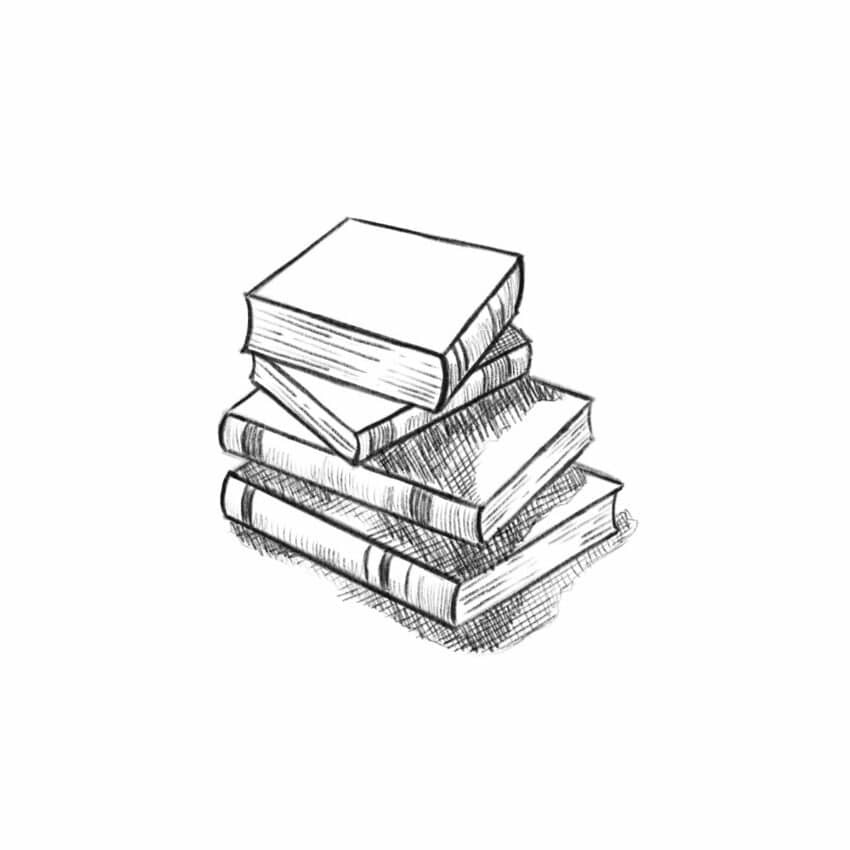
Now you have a stack of books! Continue to create your own version by changing the number and type of books.
I hope you enjoyed the tutorial! Feel free to write in the comments how well your book drawing turned out. Have fun being creative.
these books look dumb like really dumb to the point that nobody would draw them
very mean bob i dont like you go to hell
that was mean arjun
fr
Your not nice.
Bob puts milk in before the cereal.
Your a very mean person! I found this incredibly helpful for my school project
Bob you are the best! Keep being awesome! You are so kind and respectful!
That is soooo mean bob you stinky piece of cheese, I’d like an apology for the creator or else…
Bob, that is just mean. I drew these books for a school, and I thought they were incredibly helpful.
I think it’s a great idea, I’ll let the school know.
This is great! I tried this and a different website, yours turned out so much better!! Thank you for this.
I loved this website of how to draw a book (s) and it was so incredibly helpful for my school project!! Thank you so much!
P.S.- Bob, that’s just plain mean you rude old jerk. Ha, I wouldn’t embarrass yourself anymore, or you’ll get even more karma BIG BOB.
Thank you so much! 🙂
The step by step walk-through made the drawing process so much easier. Thank you very much!
Bob…No.Just no
this website is amazing
very helpful
thank you
I am a teacher, creating a bulletin board about reading. This was a great tutorial. Mine is not near as great but definitely doable and presentable. Thank you
I’m glad to hear it! Thank you 🙂
this is a great website to draw books thank you
This was the best website I have seen, and the step-by-step guide helped a bunch. Thank you so much!
this was a great set of instructions for my concrete poem on books
bob never replied lol
I found this very helpful, thank you!!😁
Bob is mean
bro, bob is getting cooked