Do you want to draw a beautiful tulip? Today I will show you how to draw a tulip flower following some easy steps. All you need is a blank paper sheet, a pencil and an eraser on hand.
Tulips have many varieties and today we are going to draw a single early tulip. You can use this step-by-step tutorial to create many more different tulips by slightly changing the base shape and the form of the leaves.
Contents
Step-by-step tutorial
Step 1: Start with a “U” shape
We will start the drawing of our flower by making some guidelines, so that it will be easy for us to draw the flower petals.
Usually, single early tulips are bell-shaped or cup-shaped. So we’ll start the flower by drawing a “U” shape first. It does not have to be a perfect “U”.
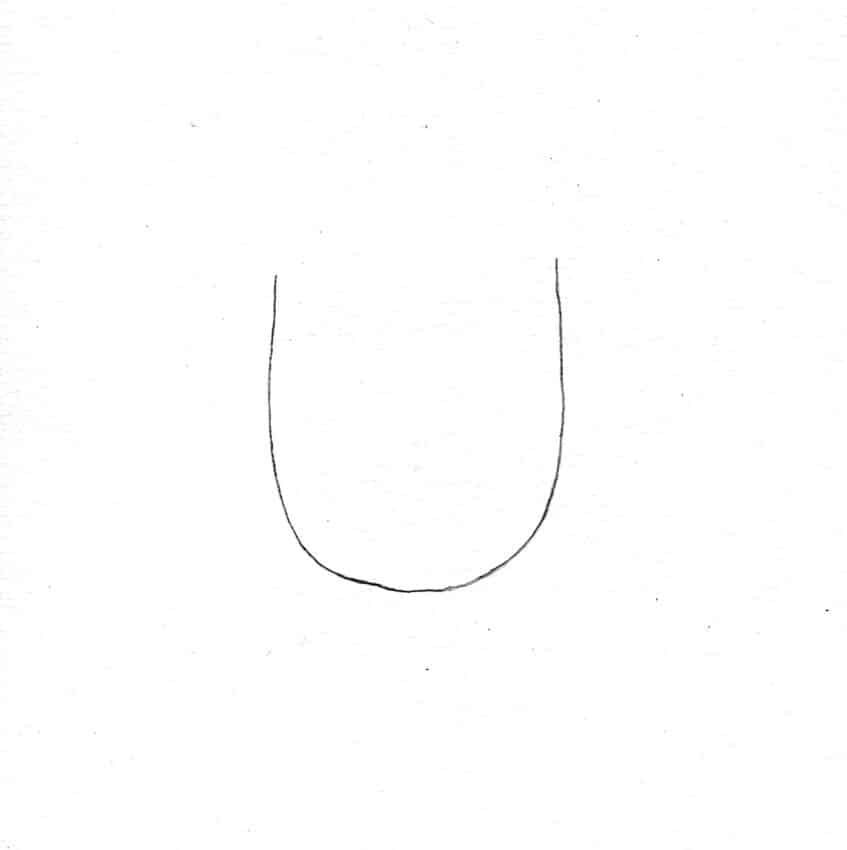
After that, draw an oval above the “U” so that we can get a cup-like shape. You should keep the lines as light as possible because we are going to erase some of them later.
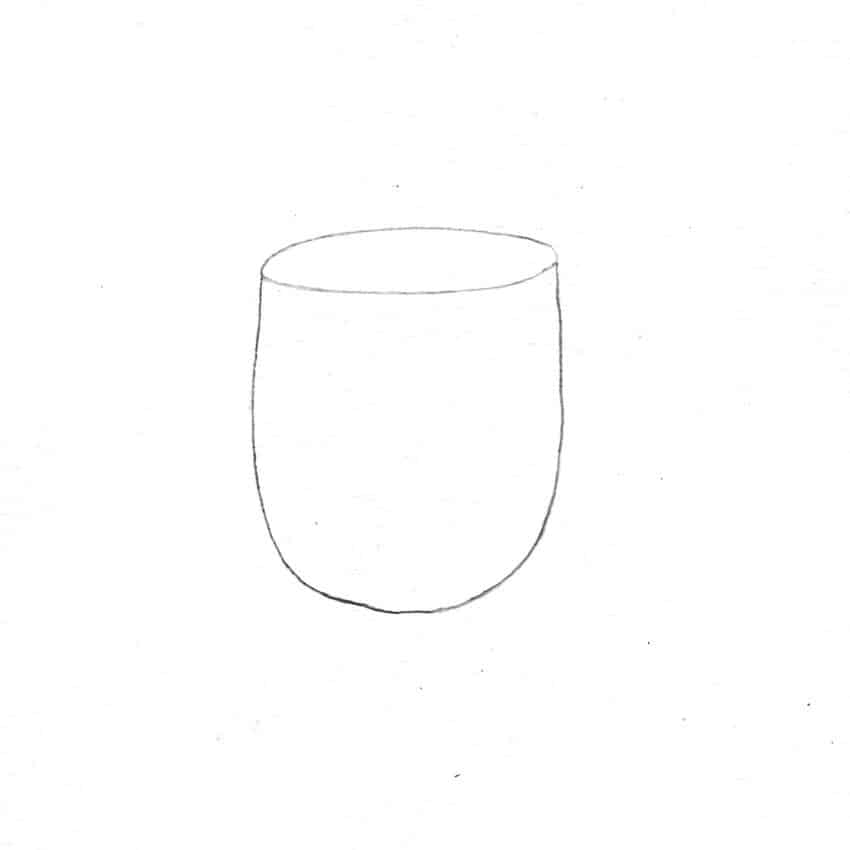
Step 2: Draw the front petals
Generally, single early tulips are constructed of 6 petals and they are usually pointed at the tip.
So first draw a curved line from the middle of “U” to the upper line of the oval. Then make the line downwards and join it to the right corner of the oval, so that we can get a pointy petal.
Next, draw another curve line from the middle of the “U” to the upper line of the oval, then make the line downwards and join it to the left corner of the oval. Make sure that there is a small gap between these two petals.
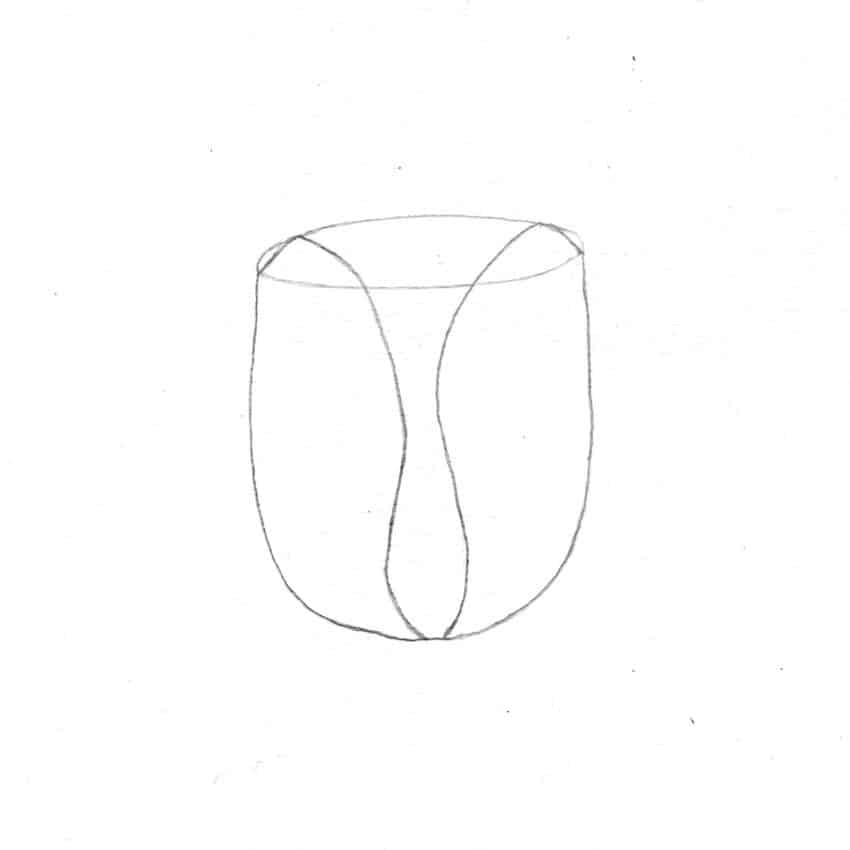
There will be another petal between the two front petals. Add a middle petal by drawing a wavy line from the left side petal to the right. Make sure that the upper part of the petal slightly touches the oval.
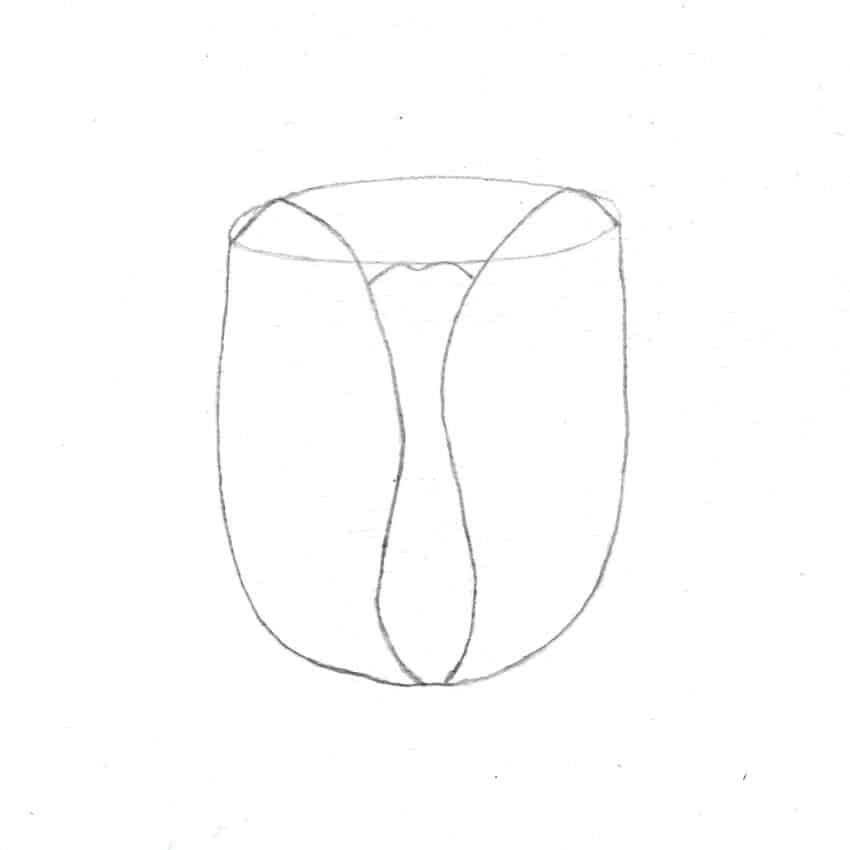
Step 3: Add the backside petals
Let’s add the petals in the back of the tulip to complete the shape. Draw a curved line in the back of the other three petals, from the left side petal to the middle petal. Now draw another small curve beside.
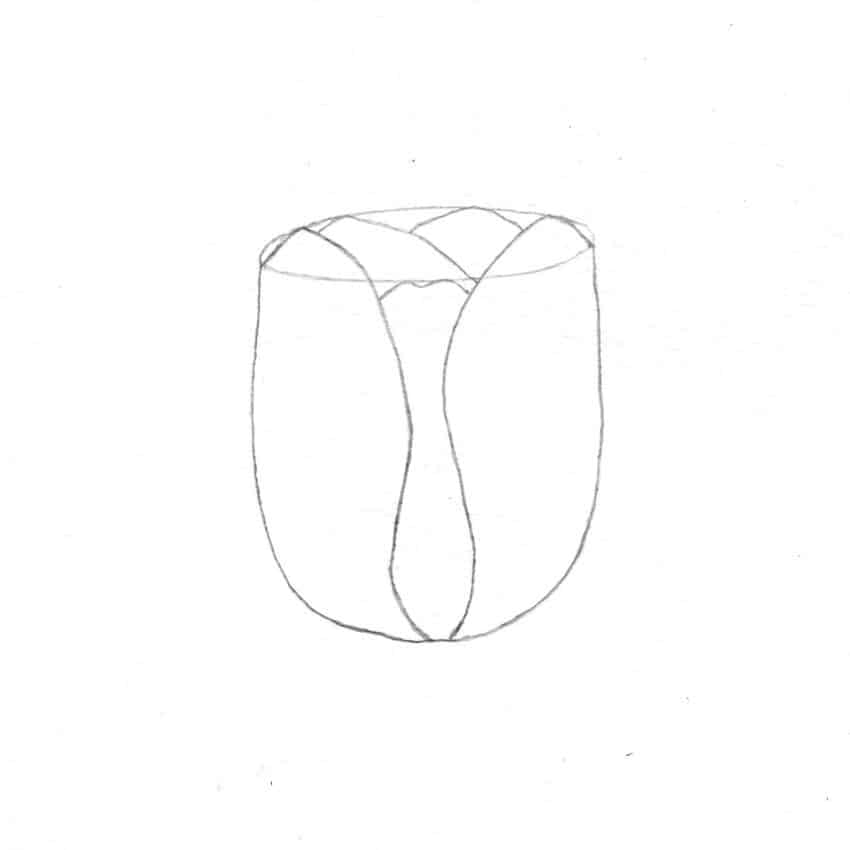
You can make the tip of the petals slightly wavy for a more natural look. Now you can erase the oval that we have made before.
Step 4: Draw the stem
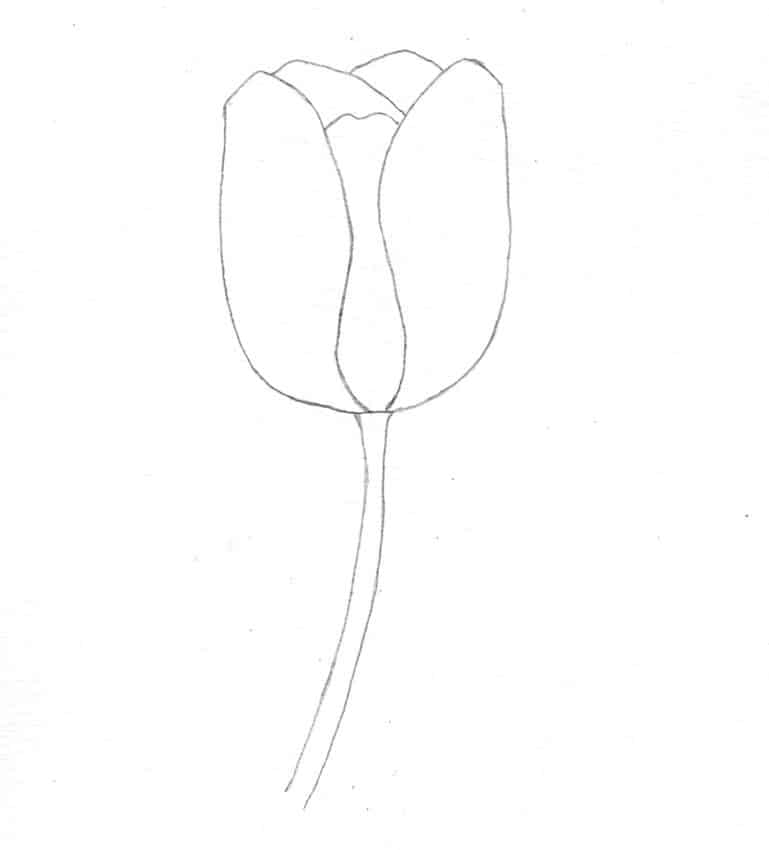
Next, it’s time to draw the stem. Draw a vertical line that connects to the bottom of the flower. Make the line slightly curved so that it looks more realistic. Now add another vertical line symmetrically.
Step 5: Draw the leaves
Tulips generally produce two or three long oval or lance-shaped leaves that are clustered at the base of the flower stem.
Draw a curved line from the bottom of the stem to the left side of the flower. Now draw another curved line symmetrical to the first and join them both to make a leaf.
Draw another long leaf to the right side of the flower in a similar way. Add one more line to the right side of the second leaf. Now it will look like the leaves are clustered around the base of the stem.
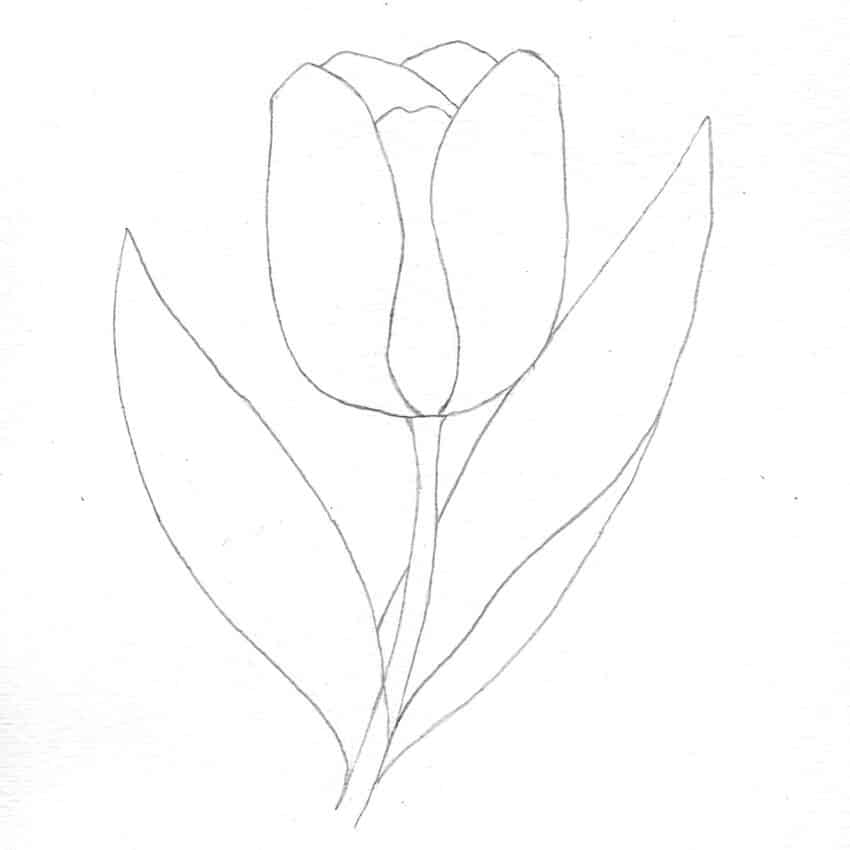
The leaves should be thinner towards the upper part and thicker towards the bottom.
Step 6: Add some details to the flower and leaves
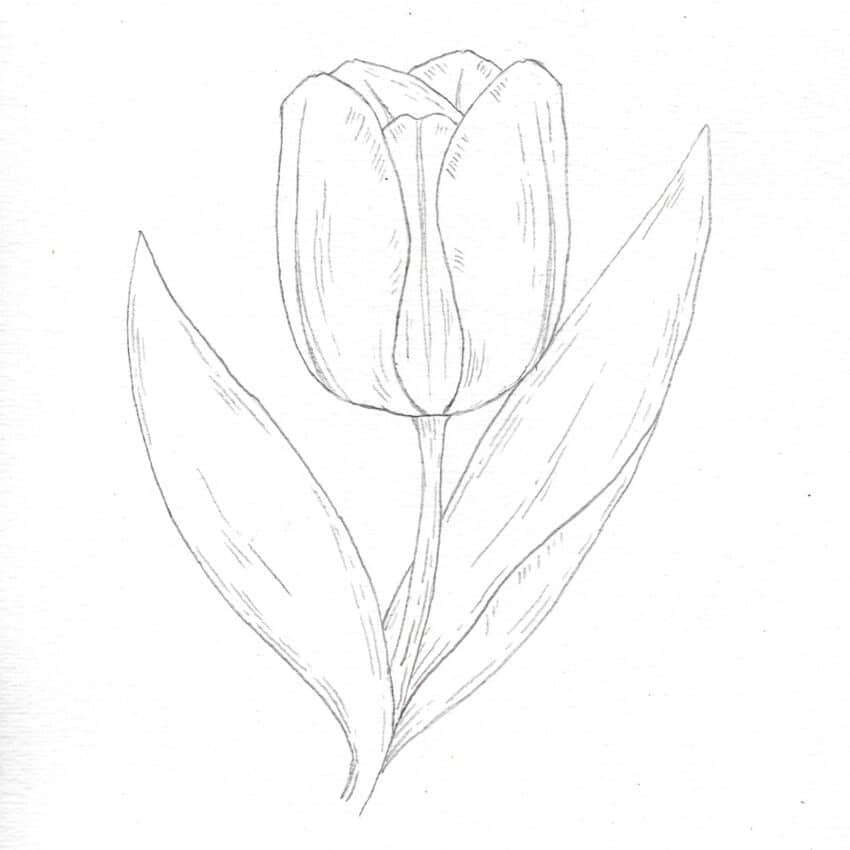
Now we need to add some details to the petals and leaves to make them look a little more natural. Add some vein-like lines on each flower petal. Next, draw some small lines on the flower petals following the form of it.
Add some small lines to the sides of the stem and leaves following their form.
Step 7: Adding shadows
Now we’ll add some shadows to the flower to create a more realistic look and for that, we need to know the direction of the source of light. Based on that we get an idea of where to add some shadows.
Let’s assume that the light is coming from the left side of the flower, so we have to add shadows on the right side (opposite side of the light source) of the flower.
We’ll darken the insides, the lower parts, the right side of the flower petals and the right side of the stem by applying small strokes according to their shapes.
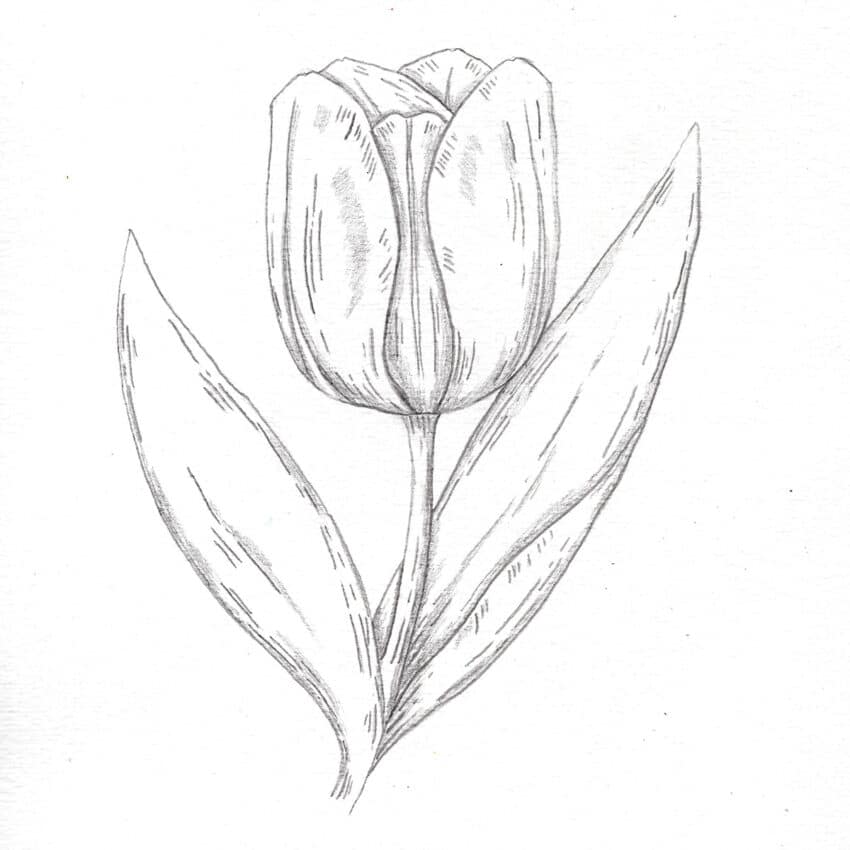
Doing these last strokes our drawing of the tulip is ready! I hope you had fun and this tutorial helped you to draw a tulip. You can also use your drawing as a sketch for painting techniques like watercolor or acrylic.
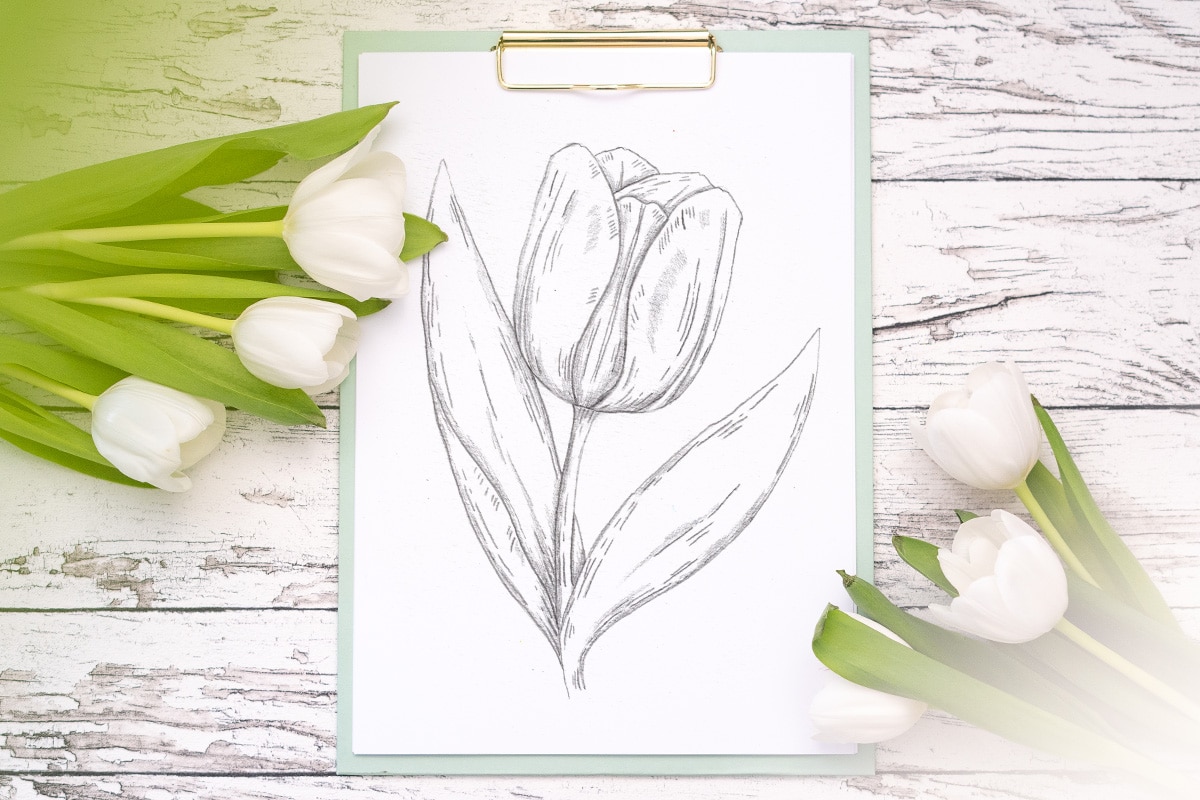
Thank you the drawing of the tulip was so easy to follow I really enjoyed drawing it thank you again
true ! it was easy , fun and the result was wondefull !
thanks for the simple steps of drawing 🌷 🌷 🌷
The results are outstanding and pretty, I feel like I’m going to be an artist
More details than my mom taught me. She taught me #1 draw a U #2 w on top of the “U” #3 add the leaves. Then add extra lines at my own Discretion.
This is probably the easiest way to draw a tulip. 😀 You can start with that too, why not?
I cant really even draw bu when I drew this ,it was like no other totoral it was great!!
Perfect! 🙂
super helpful thank you pookie